")
Obviously, when I say it only took us five years to complete this carport, I’m saying that with tongue firmly planted in cheek. 😀 Had I not been in a Wonder Woman mindset five years ago, I would have had them complete the whole thing, from start to finish, in 2018 when the carport was started.
But my Wonder Woman mindset took over (as it often does), and I convinced myself that I wanted to do a lot of the finishing projects myself, like the wiring and lighting, installing the ceiling, etc. So when those things were still unfinished five years later, I decided it was time to call in reinforcements. And with the exception of a few much smaller projects that I’ll definitely do myself (I’ll get to those later), the carport is now finally finished!
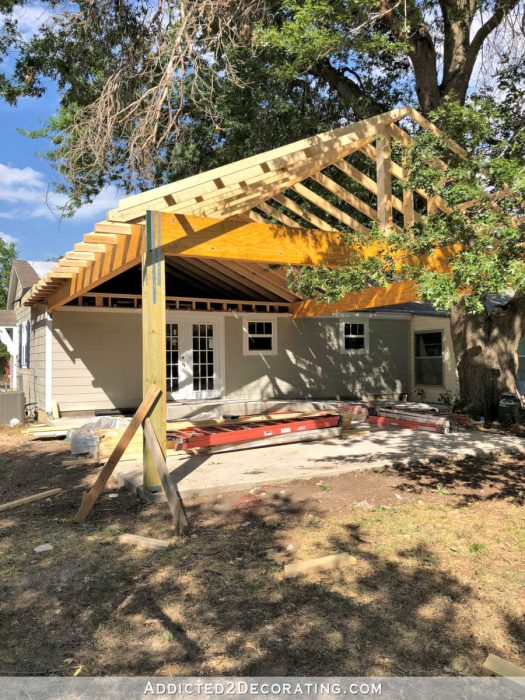
Let’s just take a step back so that I can remind you of what this has looked. Here’s what I’ve been looking at for the past five years…

It had no lighting and no ceiling. Nothing that was added with the carport (like the new siding and trim) had ever been painted, which is why there are two colors of siding near the back studio doors. And it also had a bit hole in the roof from where the huge oak tree (that used to be right next to the carport) dropped a huge limb onto the roof.
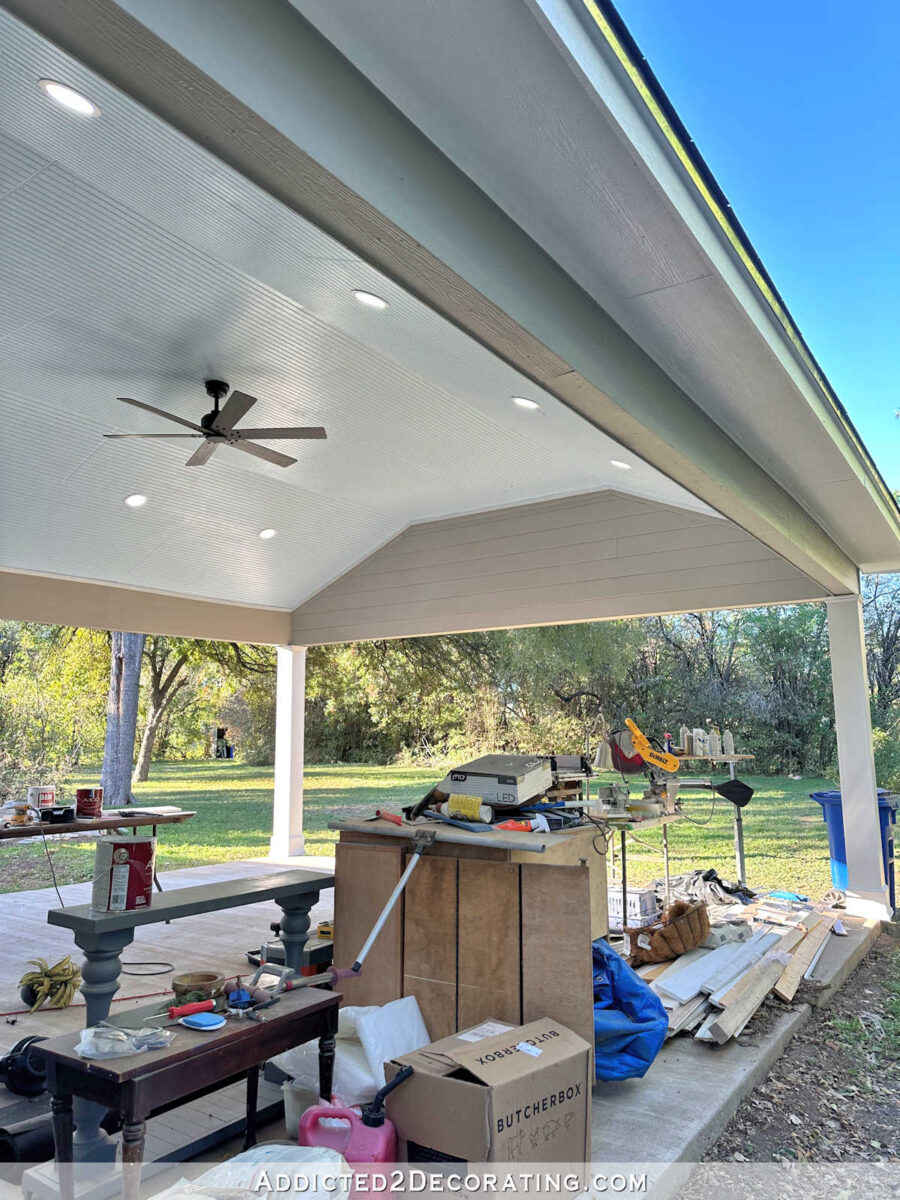
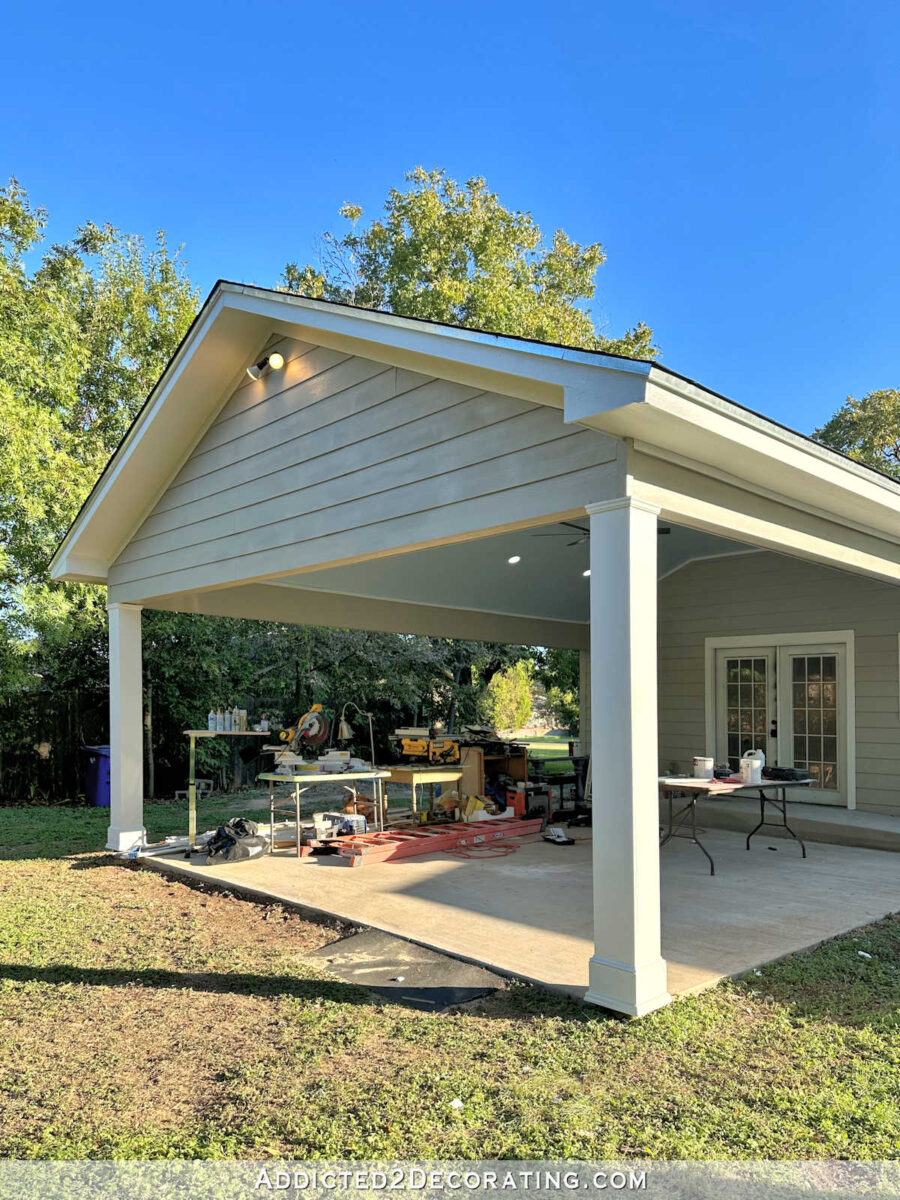
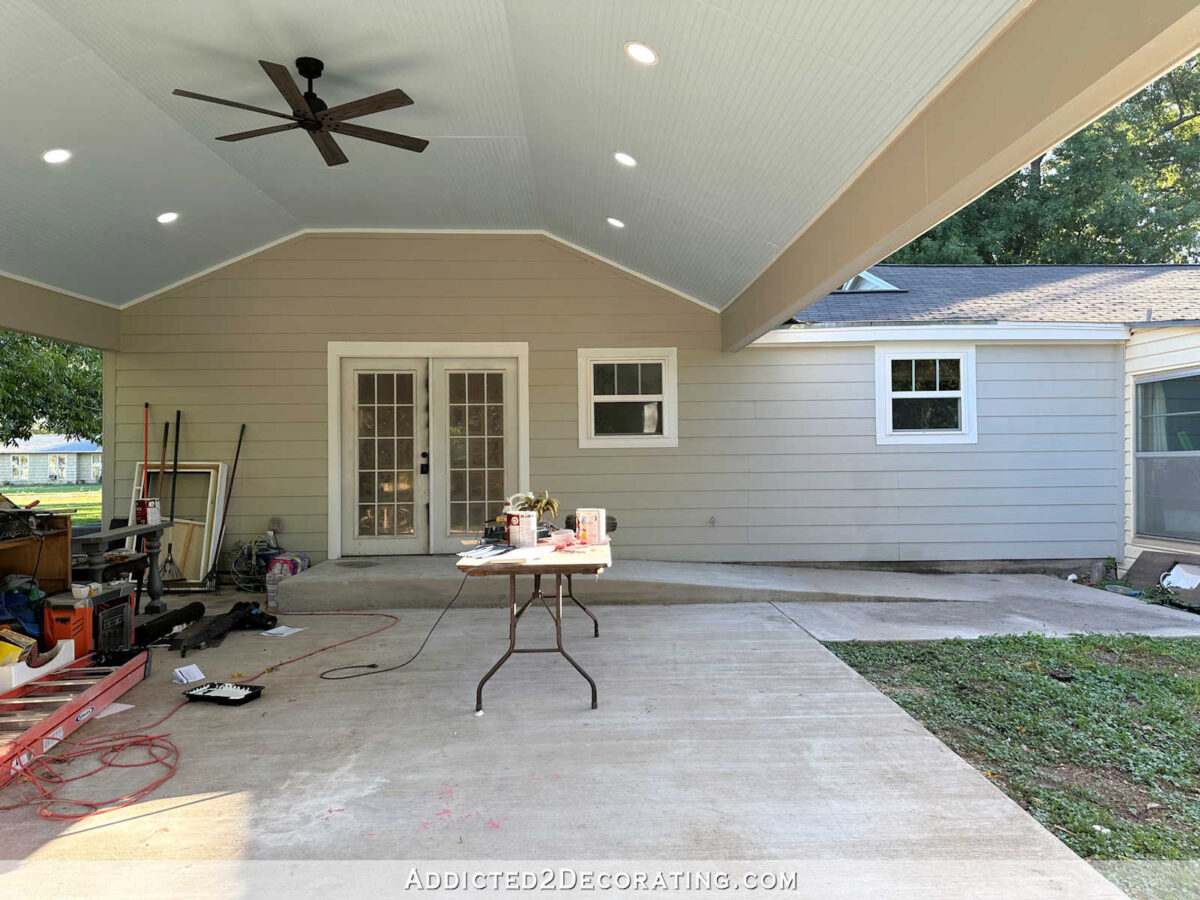
And now, I have a ceiling, loads of light, a ceiling fan, and everything has been caulked, primed, and painted. And the roof has been repaired.

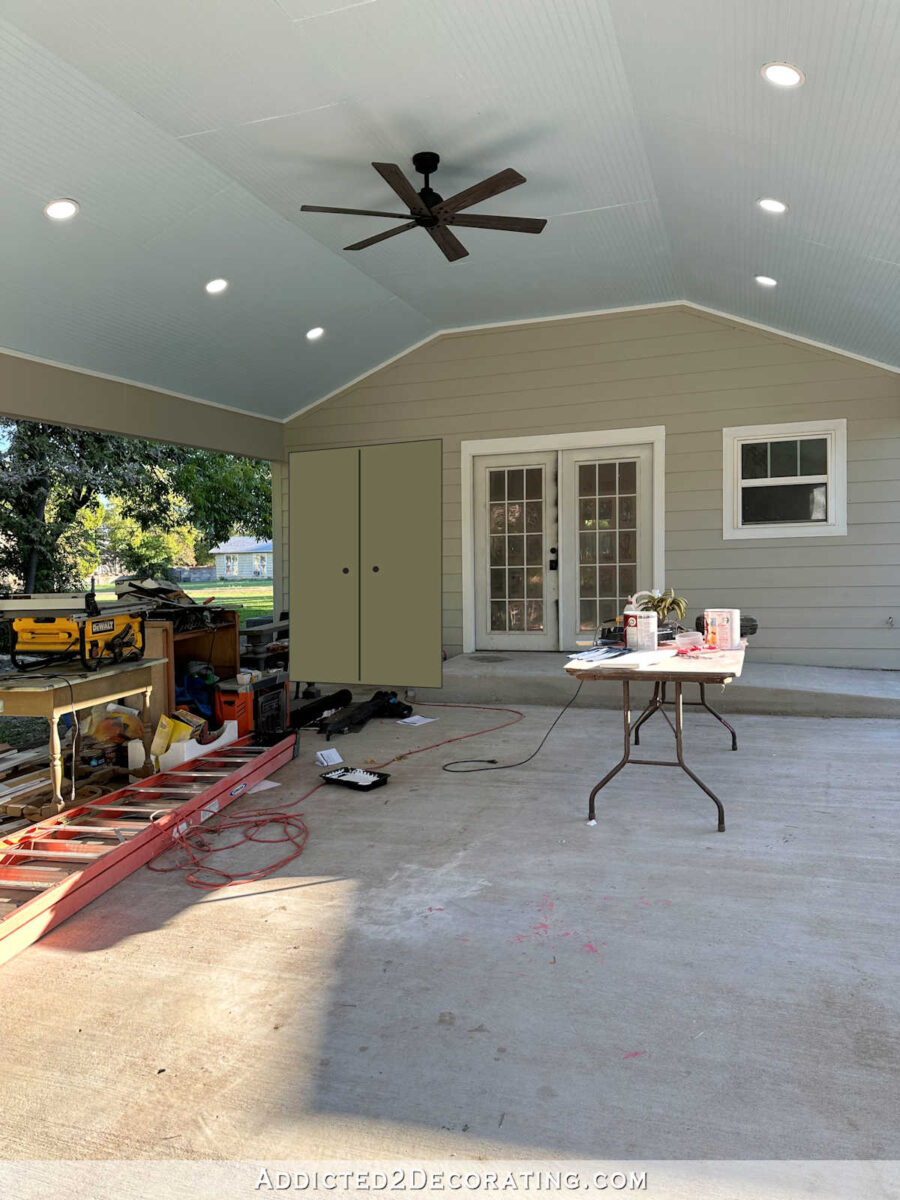
I can’t believe how much brighter it is in the carport now that the ceiling is finished! I had them paint the ceiling the same Behr Air Blue that I used on the front porch ceiling. And now, here’s that same view as the first picture I showed you above…

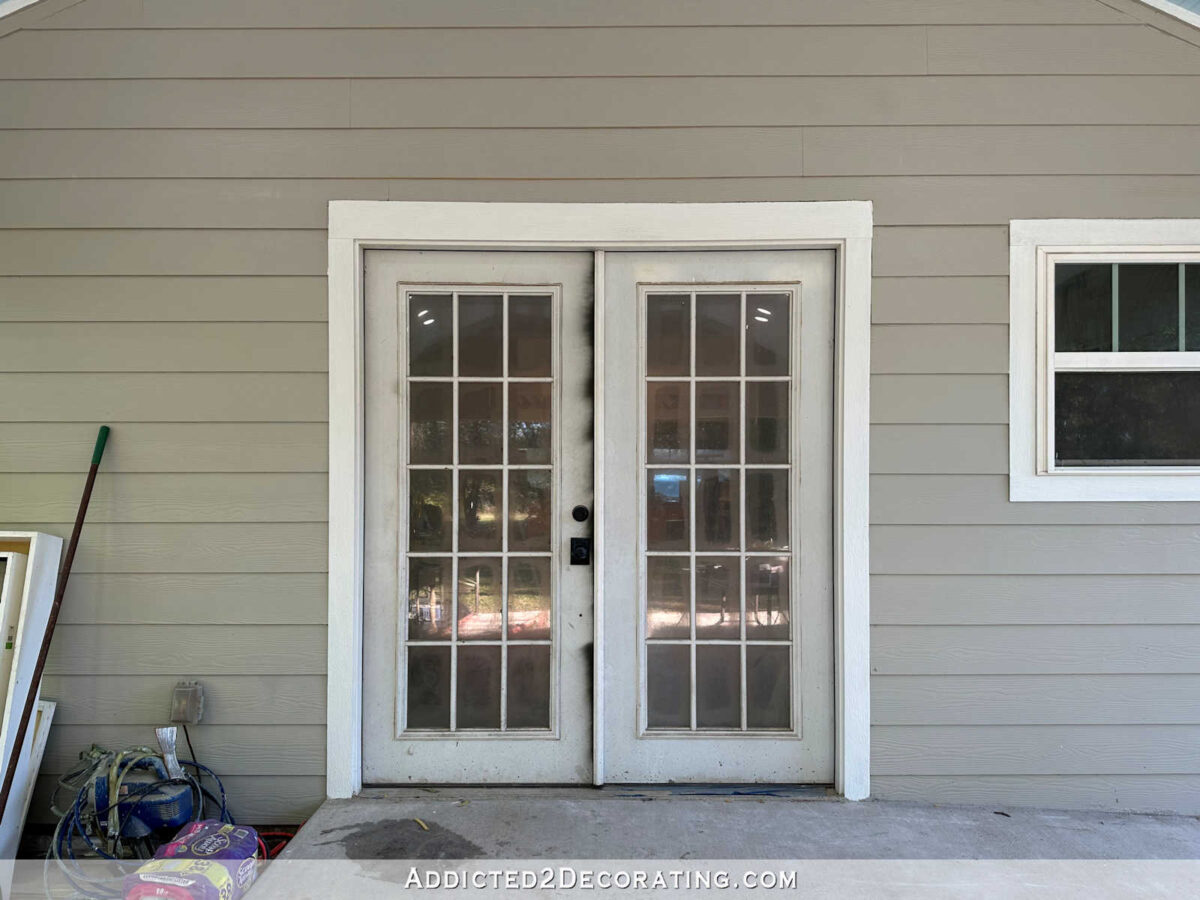
One of the small projects I still need to do myself is to paint the back doors. I can’t decide on a color. What I really want to do is paint those doors the same color (Benjamin Moore Bird of Paradise) that I used on the front door and the side door of the studio.


I’ll probably end up doing that just because I love that color so much, and I think the back doors into my studio deserve to be special right along with the front and side doors. But what keeps me from jumping right in is that I don’t really see a lot of people (if any at all) painting their back doors an accent color. Is that a normal thing? Have I just not been paying attention? Does it even matter?
I know it doesn’t matter what other people do on their homes. This is my house, and I can do whatever I want with it. I don’t have to do what everyone else does. So the doors will probably end up being the same color as the rest. And that means that I’ll probably paint all of the doors along the back of our house (after the addition is built) the same color. It makes me a bit nervous to commit to painting all of those doors the same color, but I just need to be bold and brave about it. 😀
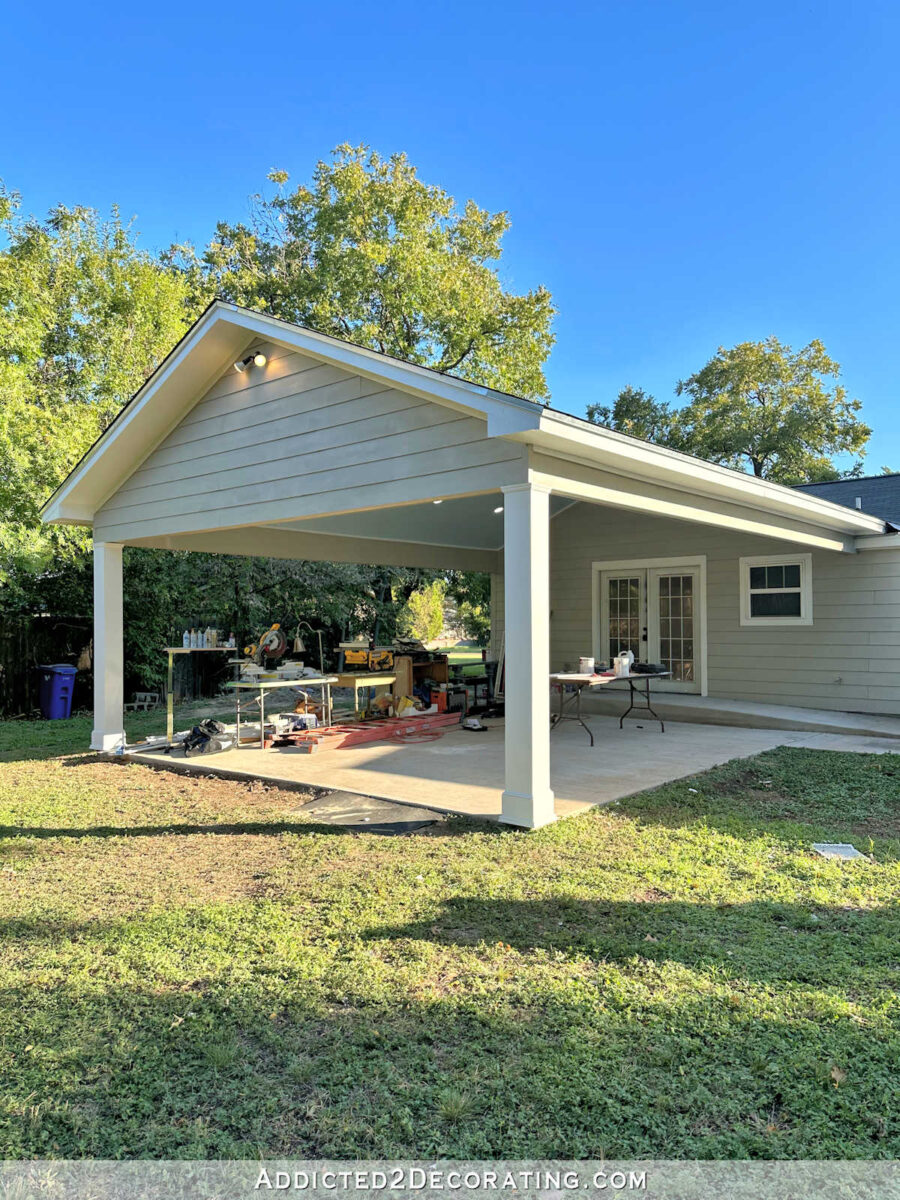
The siding on the side of the studio is now all matching for the first time since the carport was built. For the last five years, it had been two colors just like the back of the house — the original siding that was painted gray, and the “new” siding that was woven in for the carport which was the Hardi siding primer color. But now it’s all painted Sherwin Williams Mindful Gray. I can’t wait to get rid of that ugly gate and chain link fence!

The carport is what I use as my workshop for now, so it’s where my three big tools live permanently — miter saw, table saw and planer. So unfortunately, there’s no way to completely clear out the carport for now.

But there are some things I can do to organize and make things look a little better in here. Things that I no longer want to keep, but haven’t yet decided what to do with, always seem to make their way back here. There are a few of those things out here now, so I need to get rid of them. For the things I need to keep, I have some plans I’d like to put into place pretty soon.
But for now, I’m just so pleased to have the main structure finally finished, and I’m so thankful that I now have lights out here so that I can work past sunset. It’s always been a real pain to have to stop working when the sun goes down, especially during the winter when it gets dark at 5:30pm. I’ve always felt like I’m losing out on so much opportunity to get projects done. So now I can work past dark in the brightly lit carport.
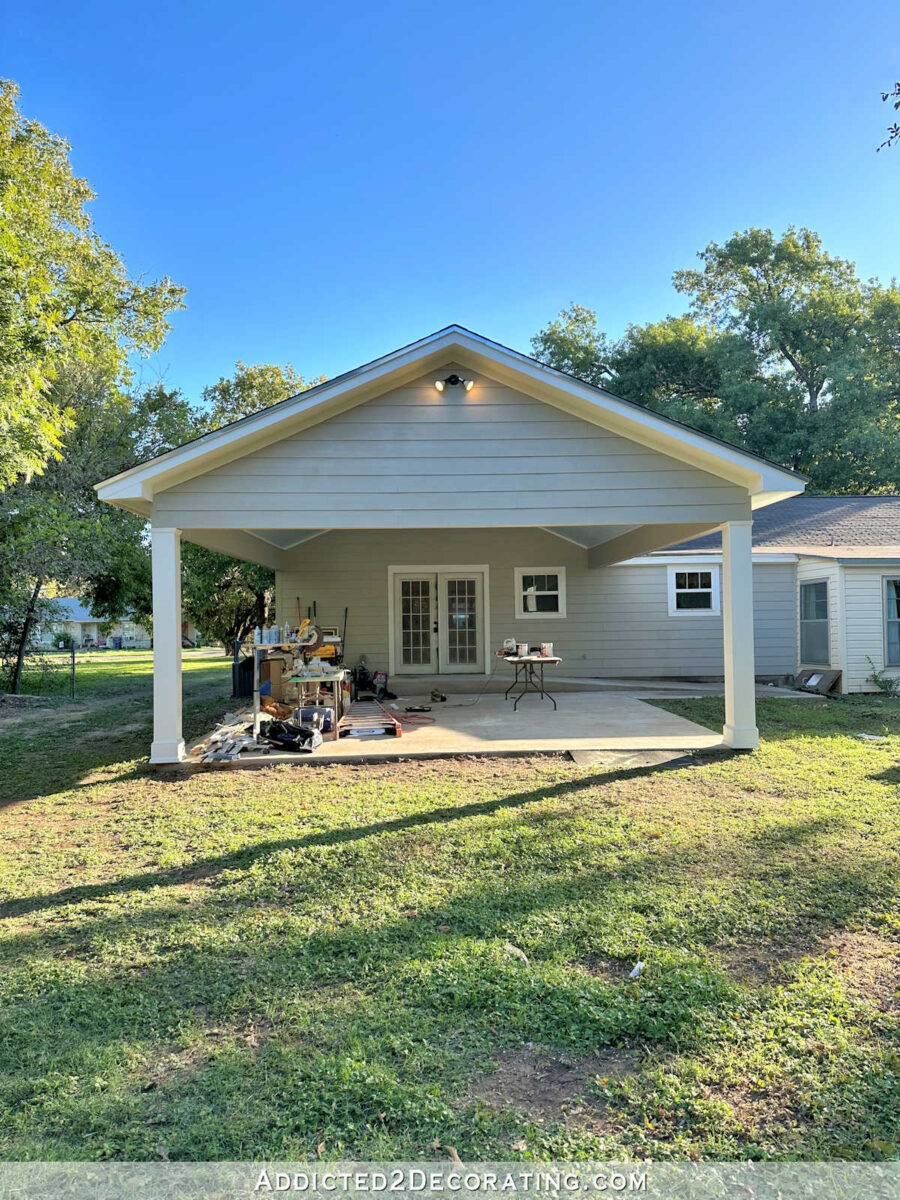
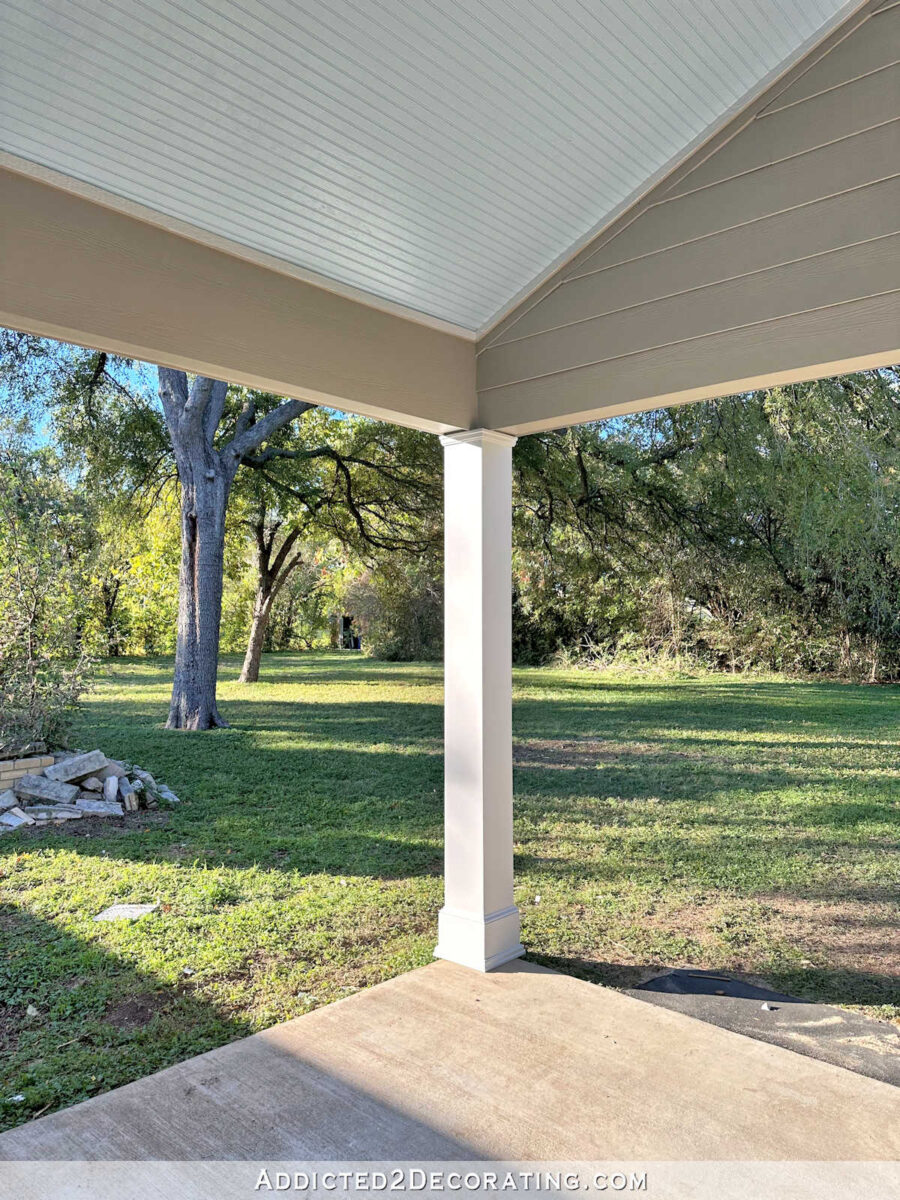
One of my favorite things is that I had them take off the old Hardiboard that was originally covering the two posts, and I had them wrap and trim those posts to match the posts on the front porch. I love the cohesive look of this, and I also love that it really bulked up those columns so much more.
They look like a more appropriate size for a carport now.
Eventually, when we finally have a concrete driveway poured, this side will be the entrance to the carport. I’ll just pull in the drive way, and then park the van this way in the carport.

There’s plenty of room here for a very wide driveway and more than enough room (after the chain link fence, gate, and all these trash trees are removed) to turn into the carport.

I don’t use it that way now because this is about five or six inches high. It would be like driving over a curb every time I come or go.

So for now, if I want to park the van in the carport, I pull all the way to the back an go in this direction.

You can see that the lip here is only a couple of inches. This is also where we have Matt’s rubber ramp (made of recycled tires, so it’s very weather proof) so that he can easily get from the carport to the back yard.

So for now, I try to keep my tools and extra lumber over to the left side to keep the right clear for the van. When I’m working on a specific project (like sanding and painting cabinet doors, like I’m doing now), I’ll set up a work table on the right side that I can easily move out of the way when needed.
Another project I’d like to do relatively soon is to build a storage cabinet to the left of the back doors for outdoor tools like rakes, trimmers, leaf blower, etc.
And then I want to build two rolling carts for my big tools — one for the miter saw, and one for the table saw with a lower shelf for the planer And then I can roll those away to the side when not in use. I’d also like to have a cart for extra lumber that can be covered with a tarp and kept out here. So those are some of the projects I’d like to do to clean up the look of those things that need to stay out here.
So I do still have plans to make this carport a bit more functional and customized specifically for how I use it. But for now, I’m just so happy with how it turned out, even if I do still have a bit of a mess to deal with over on the left side.

Addicted 2 Decorating is where I share my DIY and decorating journey as I remodel and decorate the 1948 fixer upper that my husband, Matt, and I bought in 2013. Matt has M.S. and is unable to do physical work, so I do the majority of the work on the house by myself. You can learn more about me here.