
Y’all, I actually did some work yesterday! I didn’t do much. I don’t want to push myself too hard and end up having to spend more days in bed. (Severe sciatica brought me down like a darted elephant, and I had to spend about ten days in bed. More about that here.) But yesterday evening, I was feeling pretty good and relatively pain-free, so I decided to install the woven shades that I had ordered for the studio.
When I find something I really like, I stick with it. And that is true with these shades. I used to buy this exact style and color at Home Depot when they carried them in stock years ago. In fact, I used them in every room of the condo, and that was over ten years ago.
And then when we moved into the house, Home Depot no longer carried them in stock, so I found pretty much the same shades at Blindsgalore. Those were quite a bit more expensive than the Home Depot shades because they are lined with blackout lining, and they’re also the top down/bottom up style. But the wood part looks exactly like the Home Depot shades that I had been using for years. I have the Blindsgalore shades in the living room, breakfast room, and guest bedroom.
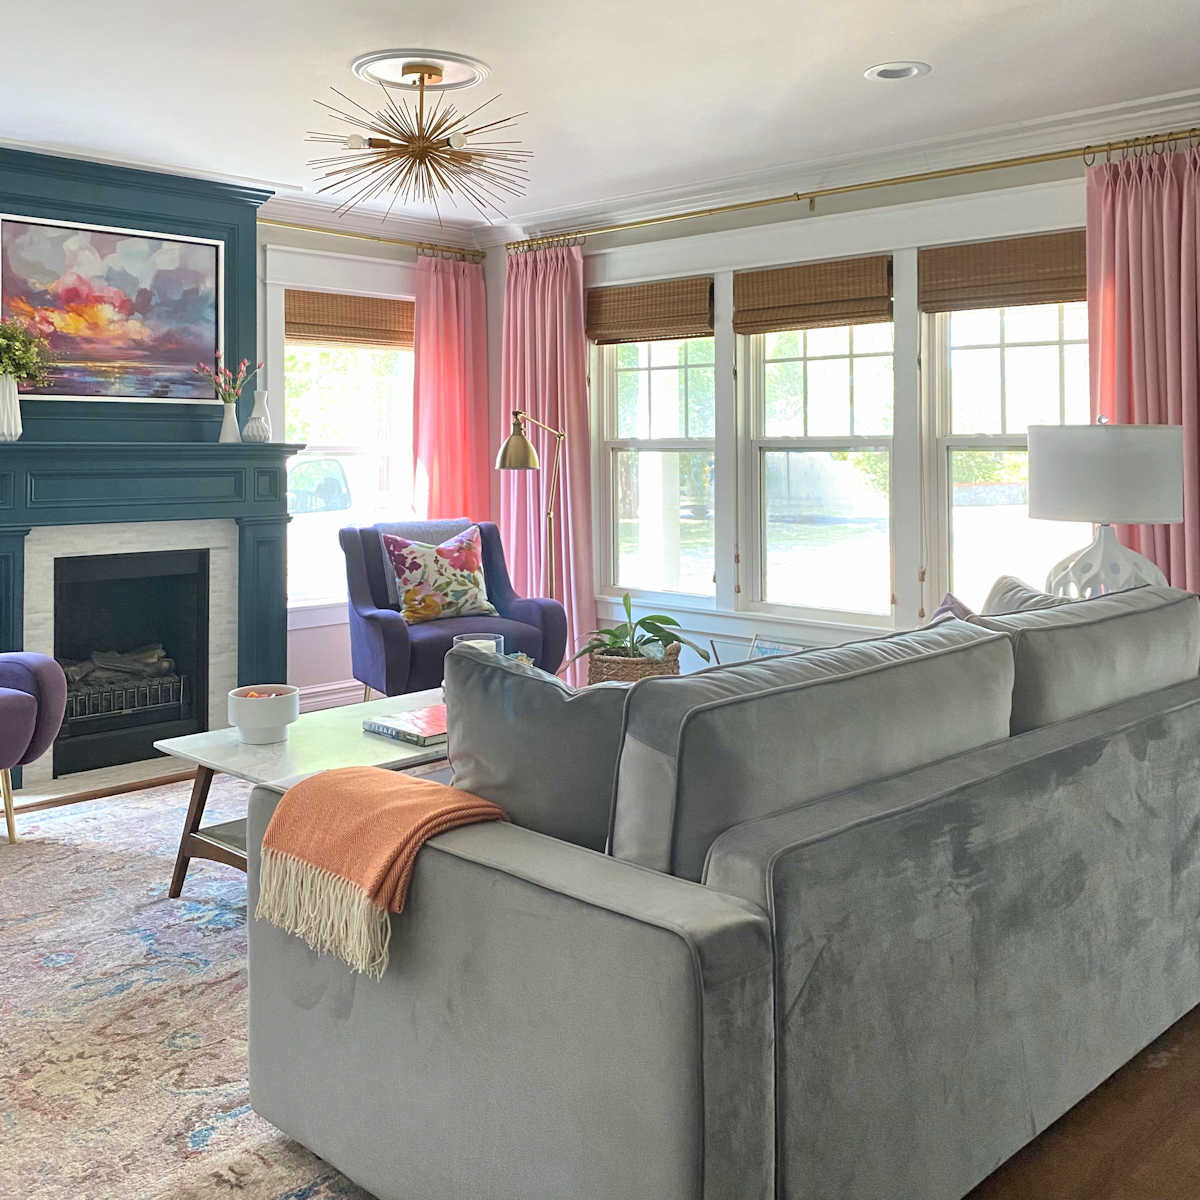
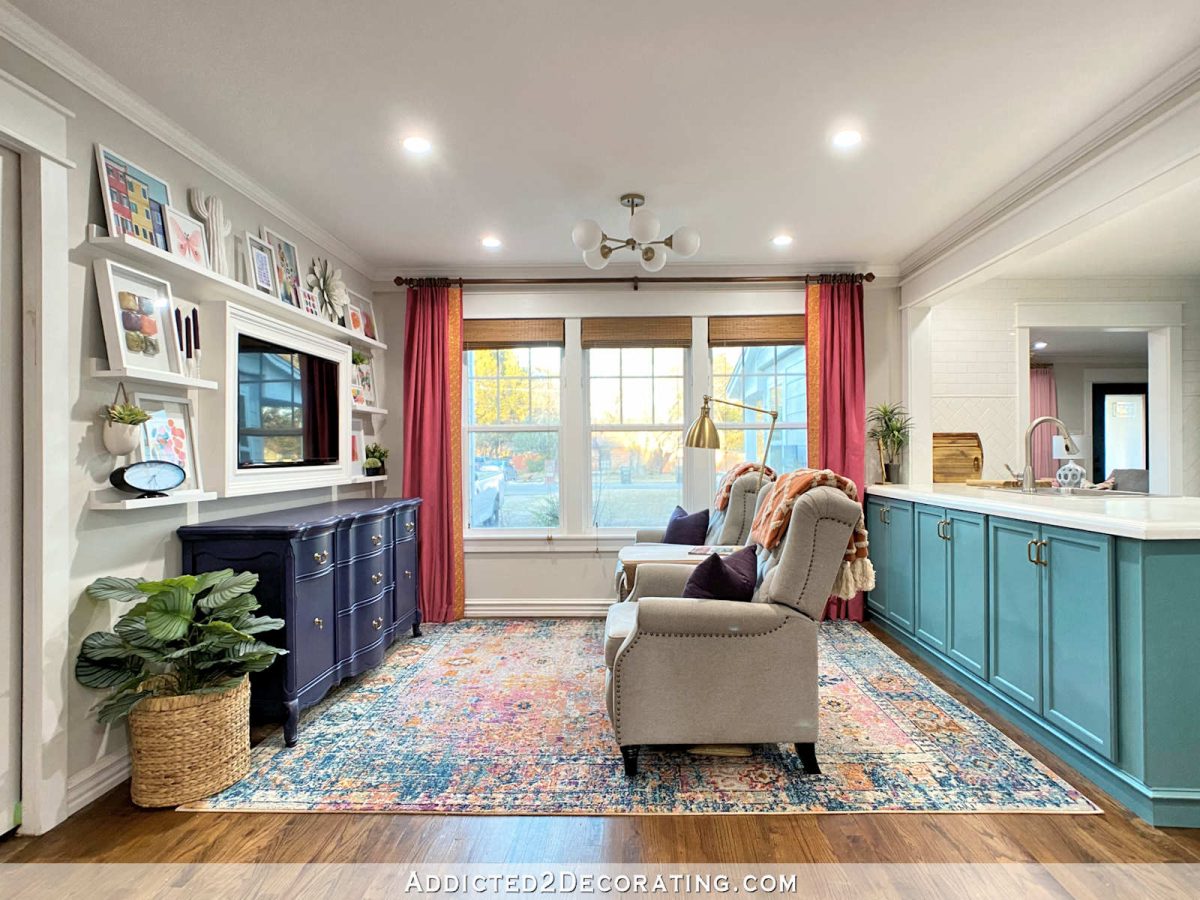
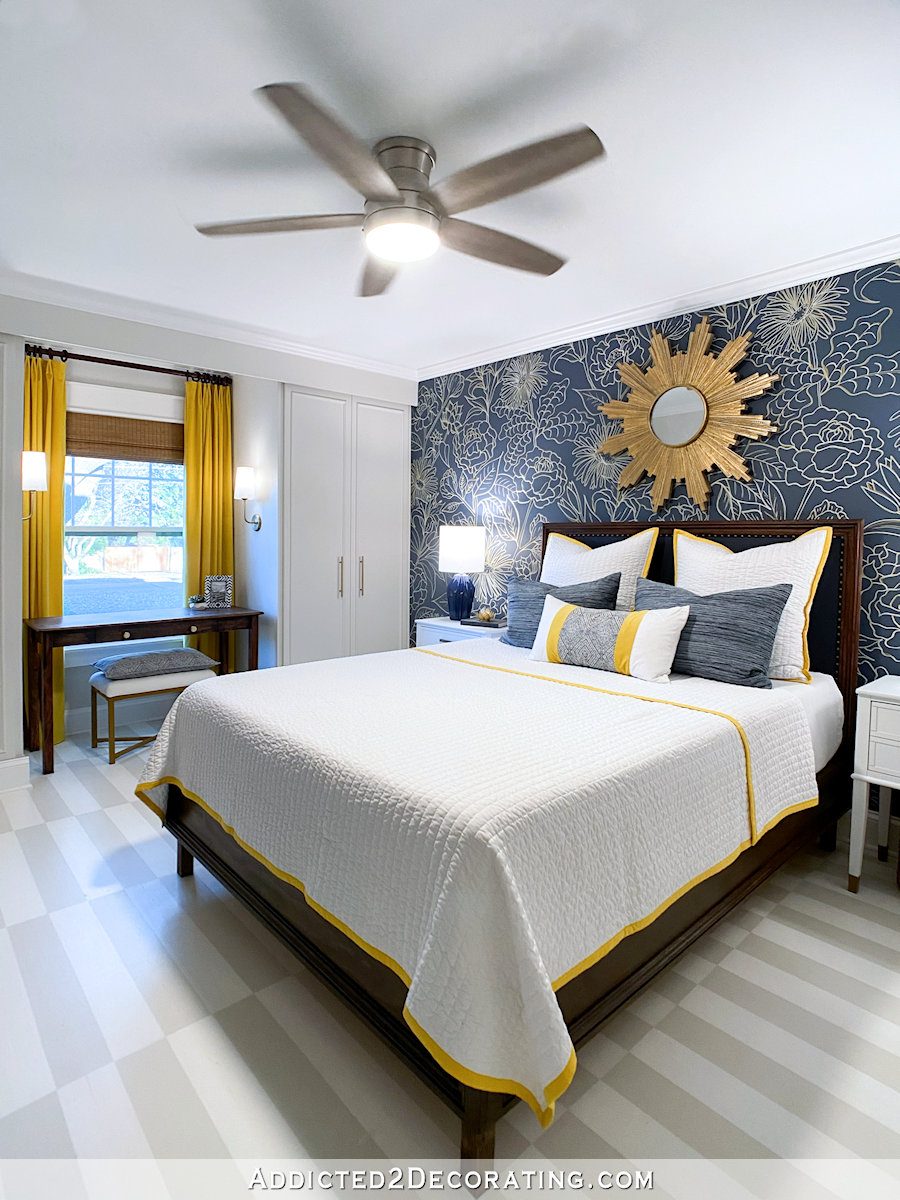
When it came time to put shades on the windows in the home gym and master bathroom, I didn’t want to do the more expensive lined, top down/bottom up shades from Blindsgalore, so I went in search of a new source. And I found these shades from Mood Store on Amazon (affiliate link). The weave is exactly like the Home Depot and Blindsgalore shades, and the Rustic Walnut color is very similar to the Blindsgalore shades, although it might be just a little darker and richer in color. I actually prefer the darker, richer color. And because I didn’t need the top down/bottom up feature, and I didn’t need them to be lined, I saved quite a bit of money. I buy the cordless version, and they’re great quality.
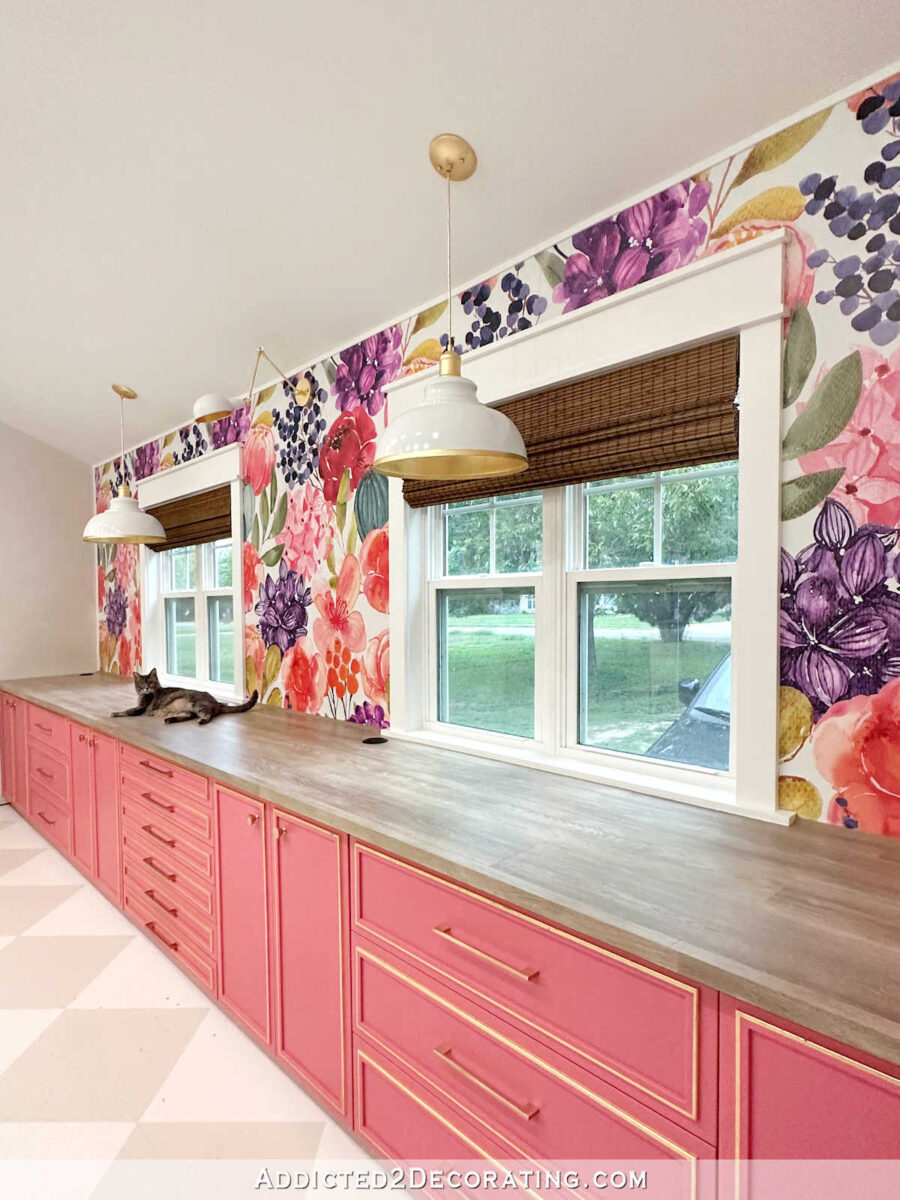
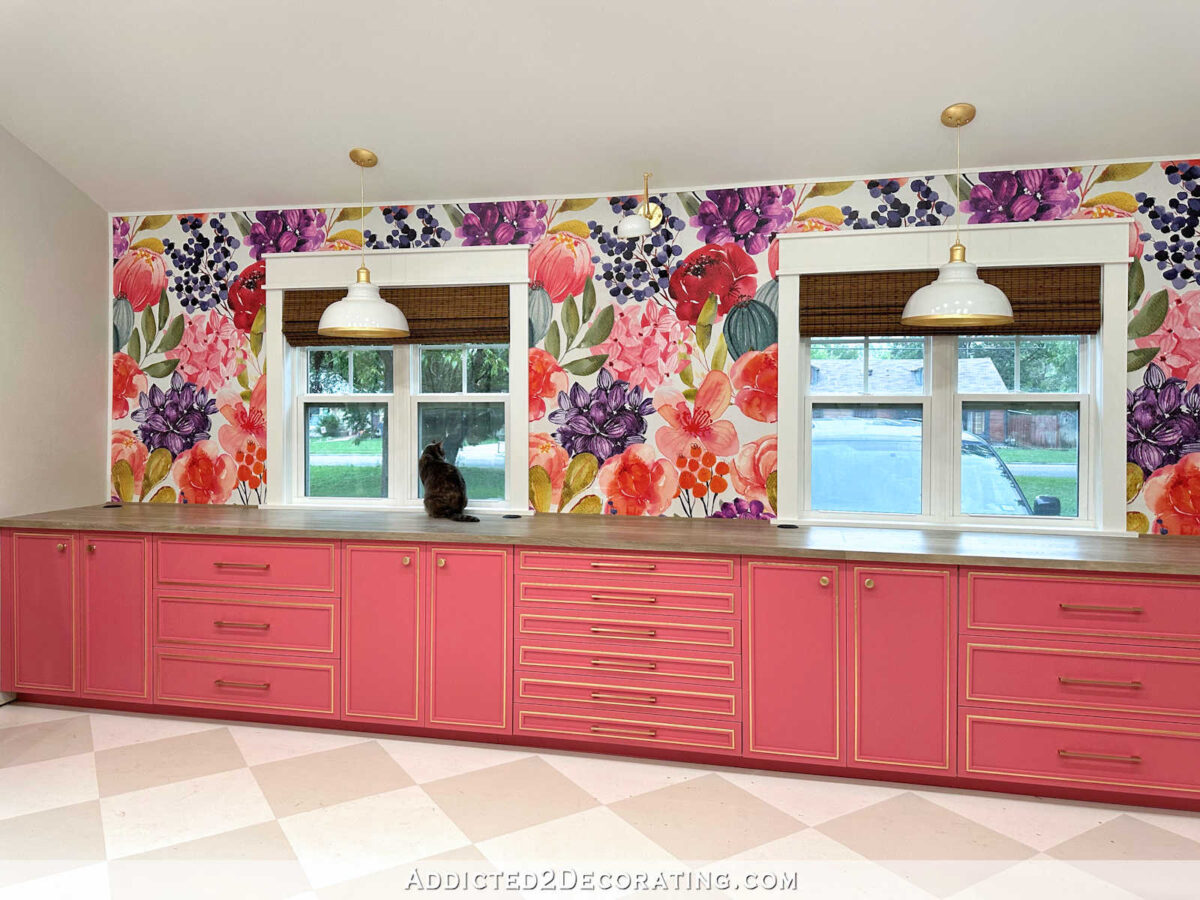
So let me show you how the look in the studio…

Isn’t that pretty? I absolutely love these shades! I personally think that the color goes with just about everything. Every room can use the warmth of wood, so I can’t really think of a scenario where I wouldn’t use these. I don’t think that woods in a room need to all match, so I didn’t feel the need to use window shades that match the countertop.
And one of my favorite things about these shades is how easy they are to install. Each shade requires two brackets, which are super simple and quick to install. And then the shades attach to the brackets with two wingnuts. I’d say that each shade takes less than ten minutes to install.

The company will cut the shades to fit the window. They’ll customize both the width and the length so that you don’t have a bunch of extra bulk at the bottom when the shades are closed.

You simply buy the size from their drop down list of size options that most closely fits your window (size up for inside mount), and then once you place the order, you can message the vendor via Amazon to give them the specific measurements of your window. I always send them the exact measurements of my window with no deductions. They’ll figure any deductions that need to be made.

So now this wall is 100% finished. There are no other little details that need attention. This is it. Finished. And I think it’s perfect. 🙂

Addicted 2 Decorating is where I share my DIY and decorating journey as I remodel and decorate the 1948 fixer upper that my husband, Matt, and I bought in 2013. Matt has M.S. and is unable to do physical work, so I do the majority of the work on the house by myself. You can learn more about me here.