The exterior of the studio French doors is finally painted! These pre-primed doors were installed years ago, and this is the first time they’ve ever been painted. Better late than never, I suppose. The fact is that painting French doors can seem like a daunting task with having to paint around all of those glass panes. But I’ve found a process that makes it pretty quick and easy, and I use the same process (but slightly different products) for painting the interior and the exterior of the French doors.
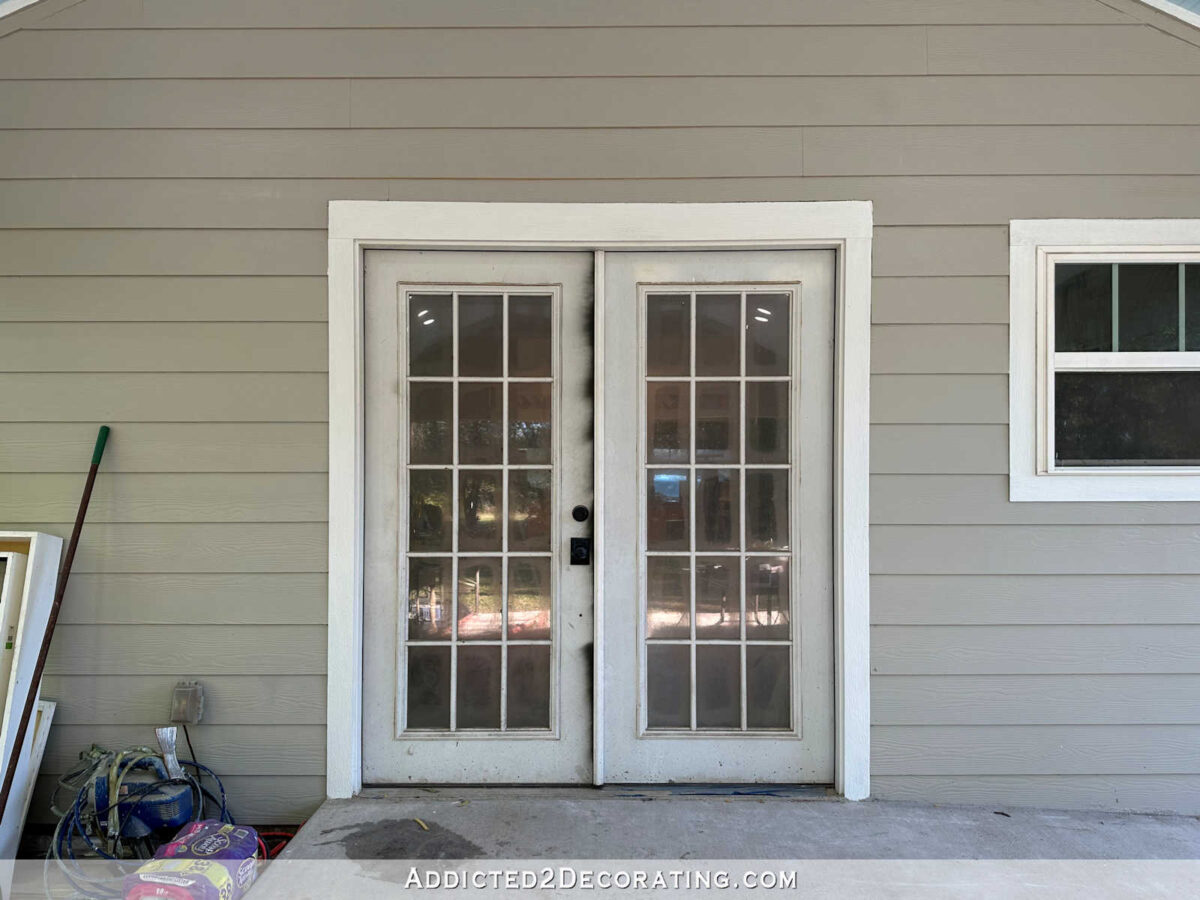
Before I walk through my process for painting French doors, let me remind you of what they looked like before I painted them.

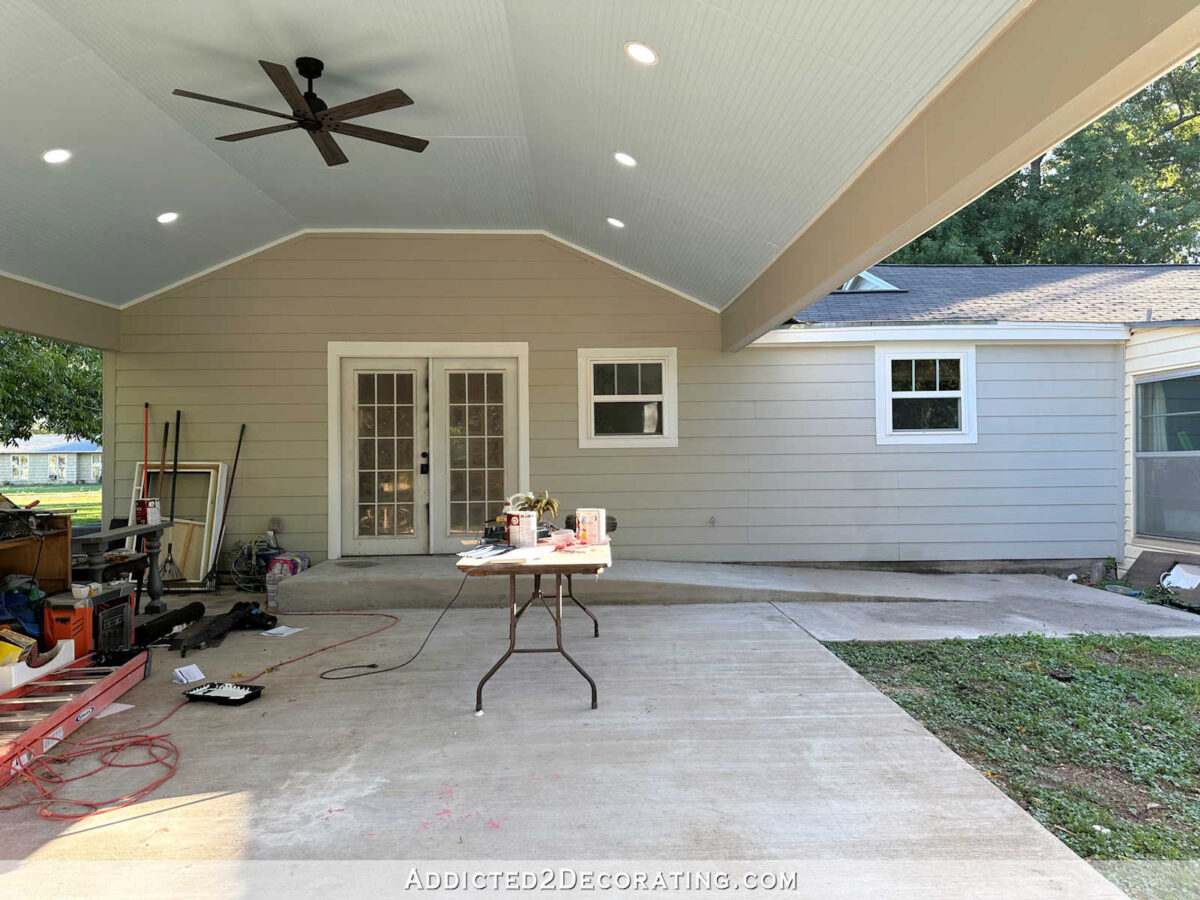
These doors lead from my studio to our carport. This is the door that has the nice, long concrete wheelchair ramp for Matt. Unfortunately, we weren’t able to fit that entire long ramp under the roof of the carport, but I do hope to have the exposed part at least partially covered at some point. I have a few ideas about how to do that, but we need our addition built first.

But anyway, those are the French doors that lead to my studio, and they were in need of paint. Initially, I wasn’t sure what color I should paint the doors. Our front door is painted a pretty coral color from Benjamin Moore called Bird of Paradise.

And then I decided to paint the side door to my studio the same color because that entry was way too cute to paint the door white.

So I had to decide if I wanted to carry that same color to the back of the house, or play it safe with white. In the end, I decided to go for the Bird of Paradise. I want to see that pretty color every time I pull the van into the carport. (I took these pictures in the early morning sun, which is why the colors looks so different from above. The house is still the same color as it has been for years now, and the door colors really are the same.)

I’m so glad I didn’t play it safe and choose white! I’m going to love having coral doors on the back of our house!
Now let’s get to my process for painting French doors.
First, I cleaned the doors really well. Not only had these doors not been painted since they were installed years ago, but they had also never been cleaned. 😀 And it showed! These doors were absolutely filthy. Cleaning the doors was the hardest part of this project, and I’m not even joking.

But after lots of scrubbing, I had all of the dirt removed.

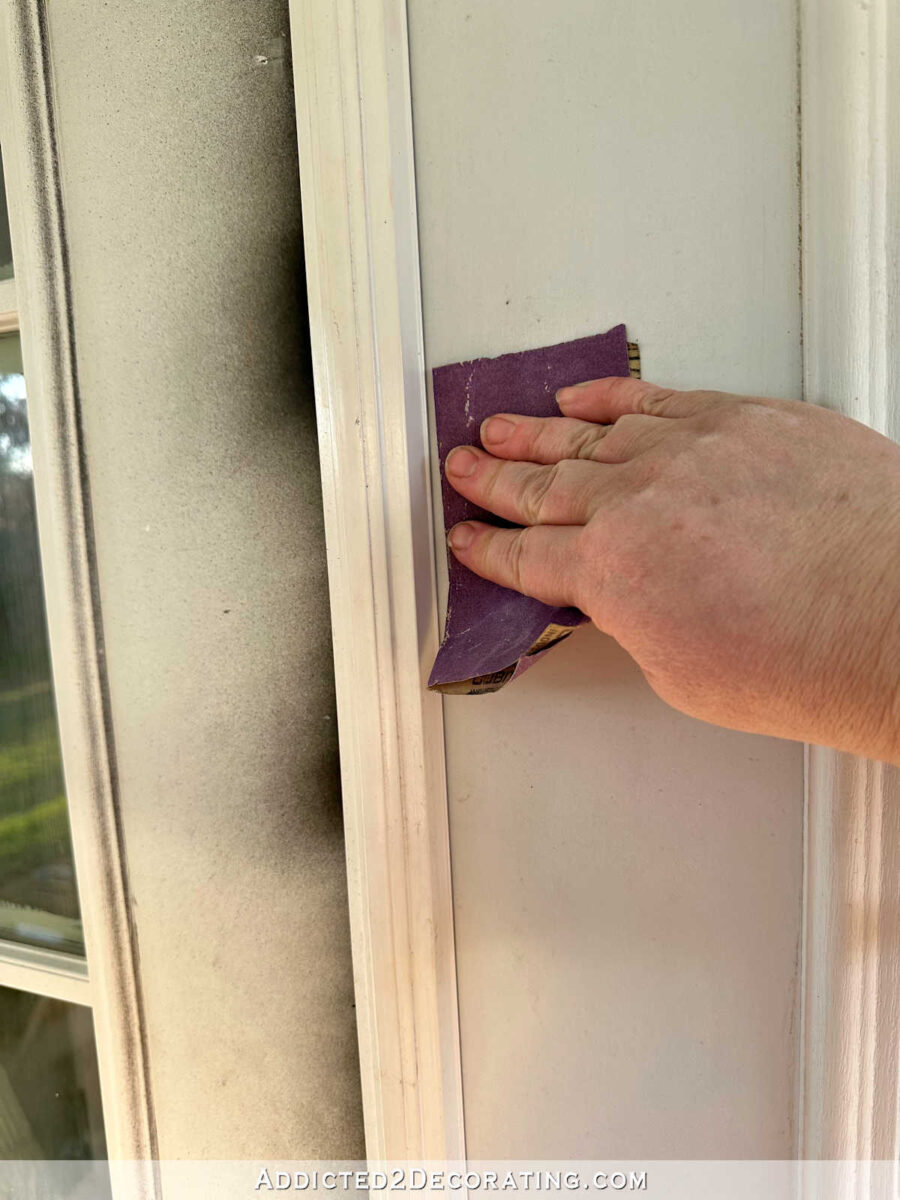
Next, I used 220-grit sandpaper to quickly sand the doors and make sure there was nothing stuck on them that would affect the paint finish. I also had to scrape off some concrete splatters (from when the wheelchair ramp was poured) and some other gunk that had collected on the doors. I wanted the surface to be as smooth as possible before painting, but I really didn’t spend more than 30 minutes on this.

Next up, I used Jasco Mask & Peel to cover the glass panes. I’ve shared about this product twice before, but I always get more questions about it. So I’ll continue to share about it, because it really is an amazing product.

It acts as a primer and a liquid painters tape. You don’t have to be careful at all about painting it on because any of the product that gets on the parts of the door that will be painted simply acts as a primer. If it gets on the door, there’s no need to remove it, peel it, or wipe it off. Just leave it there and let it dry, just like you would a primer, and then paint right over it. But the goal is to completely cover the glass panes with the product. Brush it on relatively thick with a brush, and once the door is painted, the part that on the glass panes will peel right off.
I forgot to take a picture from the outside after I got the product painted on the glass panes (it was getting so cold outside and I was very anxious to get done and come inside), but here’s a picture of what it looks like from the inside.

I did have to use actual painters tape on a couple of areas on the doors, like the rubber weather stripping between the two doors and at the bottom of the doors. But this Jasco product saves so much time over trying to tape off all of those glass panes. I think it took me a total of 30 minutes to coat the panes on both doors.
After that was dry (I actually had to wait about three days because we had sub-freezing temps for a few days), I was ready to paint. But before I got started, I took a few minutes to remove the door handle and dead bolt. I find it easier to remove them than to try to paint around them, and I get a much cleaner look by removing them instead of trying to tape them off.
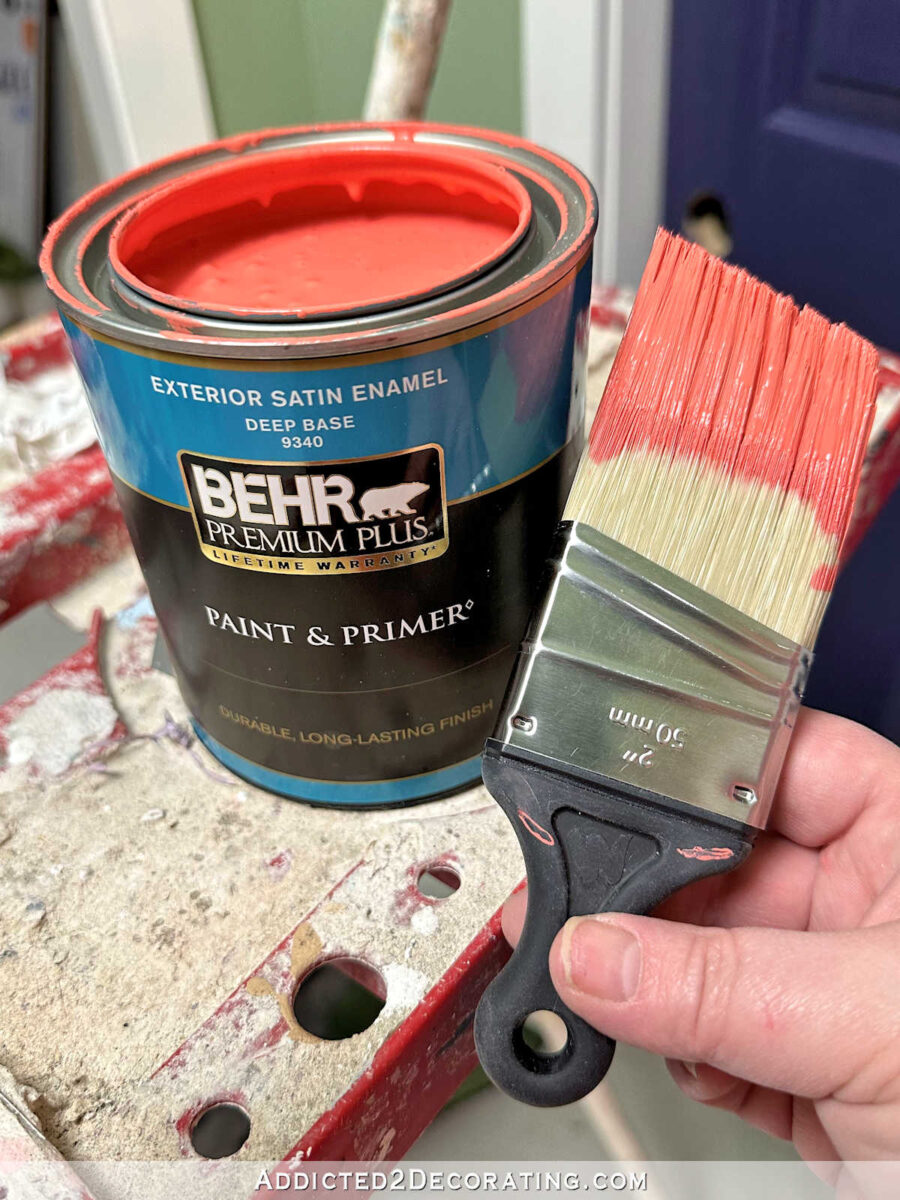
I used Behr exterior satin enamel paint. They had the Benjamin Moore color in their system. I painted the doors with a 2.5-inch sash (angled) brush.

To paint the exterior of the doors, the doors need to be opened all the way, and they need to be left open until the paint is completely dry. And as you can see, with the Jasco masking product on the panes, I didn’t have to be careful at all when painting around the panes.

After painting to coats of paint and allowing those to dry, I was ready to remove the window film. I used a brand new razor blade to score around the edges of the panes…

And then the product peeled off very easily, leaving a clean, paint-free glass pane.

And here are my beautiful Bird of Paradise studio carport doors (looking a little bit dark in the early morning light).

I can’t believe I waited this long to paint these doors, but I’m kind of glad I did. Had I painted them back when had the carport built, I probably would have just painted them white. I needed time to find my courage to go for the coral. 😀

Now I need to find a storage solution for my tools and extra lumber and trim so that the carport can stay neat and tidy. I’d love to give this entrance as much love and care as I try to give to our front porch. I want a pretty and welcoming entrance for myself just as much as I want one for our guests.

Addicted 2 Decorating is where I share my DIY and decorating journey as I remodel and decorate the 1948 fixer upper that my husband, Matt, and I bought in 2013. Matt has M.S. and is unable to do physical work, so I do the majority of the work on the house by myself. You can learn more about me here.