
We have a list of home projects we are working on. Some are large, like a full kitchen makeover coming early 2024. Some are medium scale like updating the girls’ bathroom. And some are smaller scale, like building in shelves in the mudroom and this pantry refresh. I knew David was handy when I married him, but even after 14 years of marriage I’m still amazed when he can singlehandedly take on projects like this.
My goals for this pantry refresh were simple. First: get rid of wire shelving and replace with solid wood. Second: refresh the space with fresh paint. Third: reorganize the space to best fit my needs.
While I love some of the pantry Pinterest clickbait (color coded organization is so beautiful), I was focused on function. As someone who cooks a lot, I wanted the space to work for our needs more than I wanted it to look pretty. But still, I think it looks pretty.
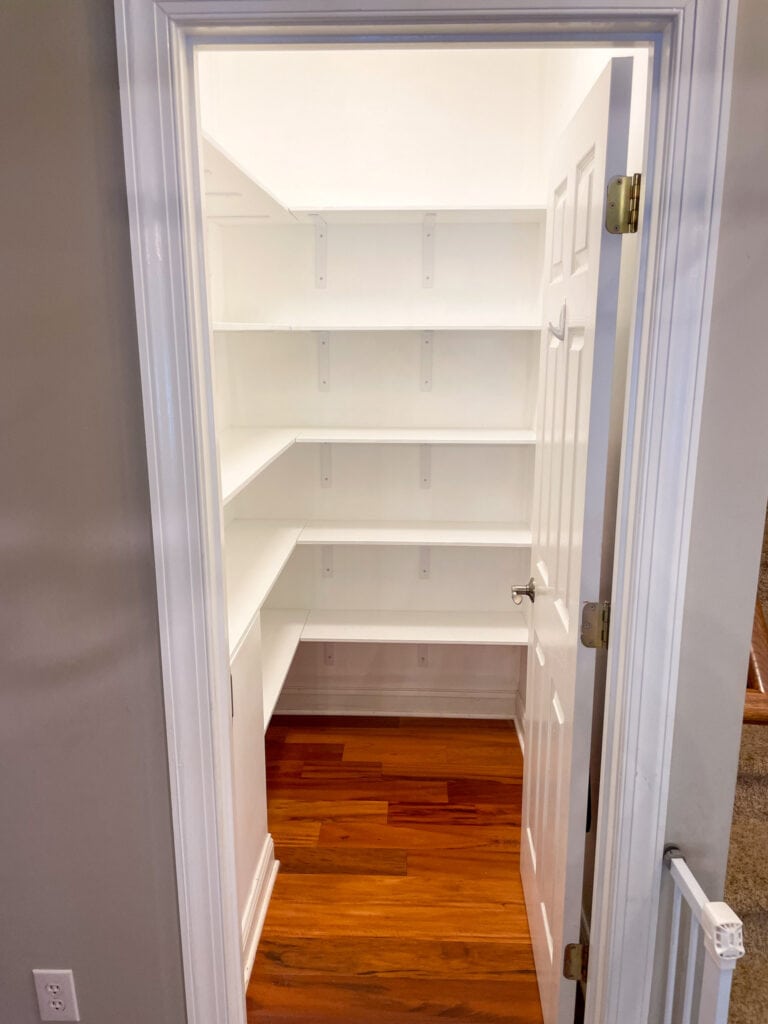
Here is the before: a well-meaning, highly trafficked space that over time had accumulated clutter of rarely used items taking up valuable space.
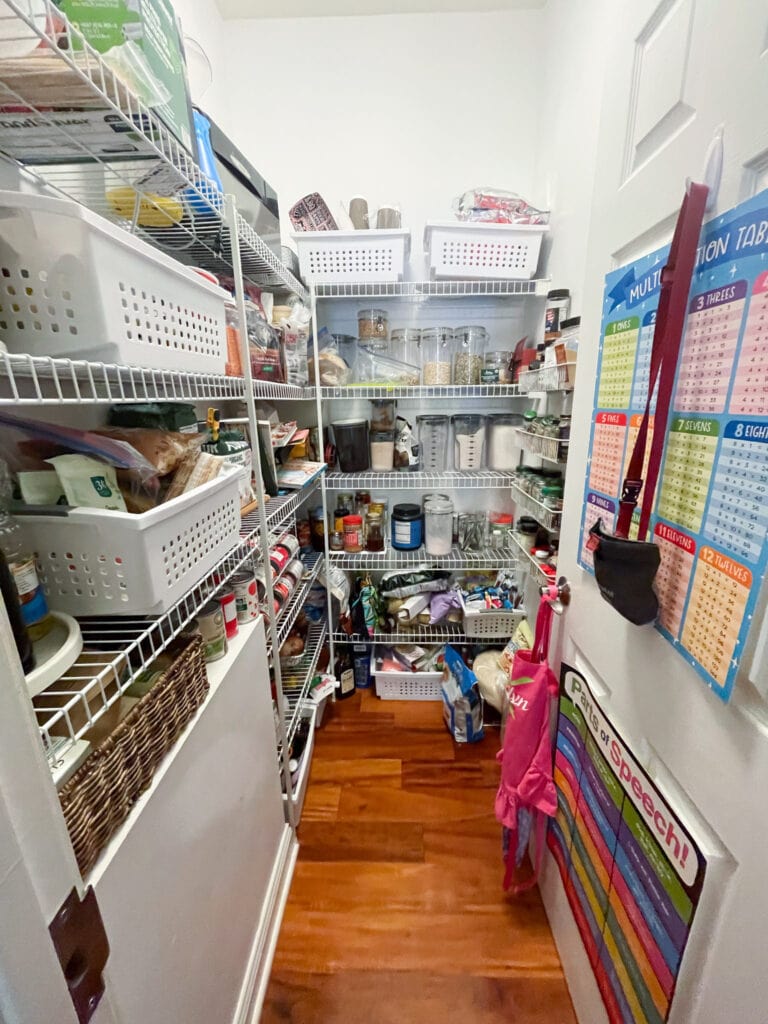
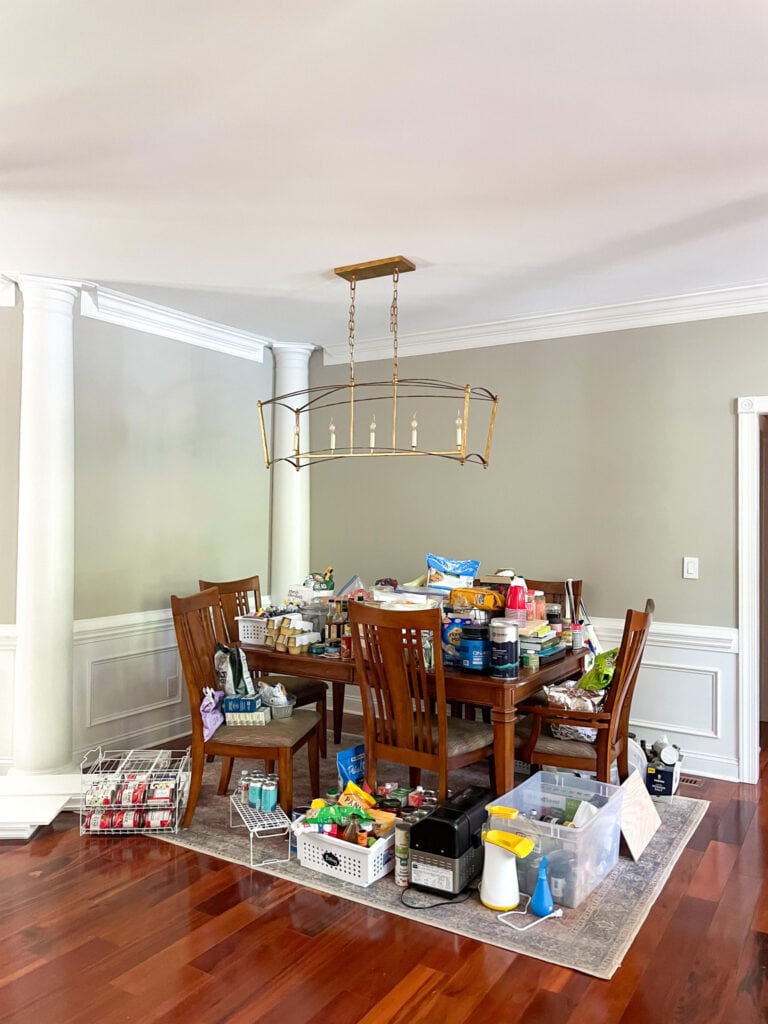
The process was simple, but took time. Over the last month or so David cut, sanded, and painted the boards to be used as our new shelves and ordered hardy brackets.
This past weekend we pulled out the old shelves together, patched holes, sanded, and repainted the space. Then David worked his leveling magic to install the new shelves and I had the joy (sincerely) of reloading the space as I see fit.
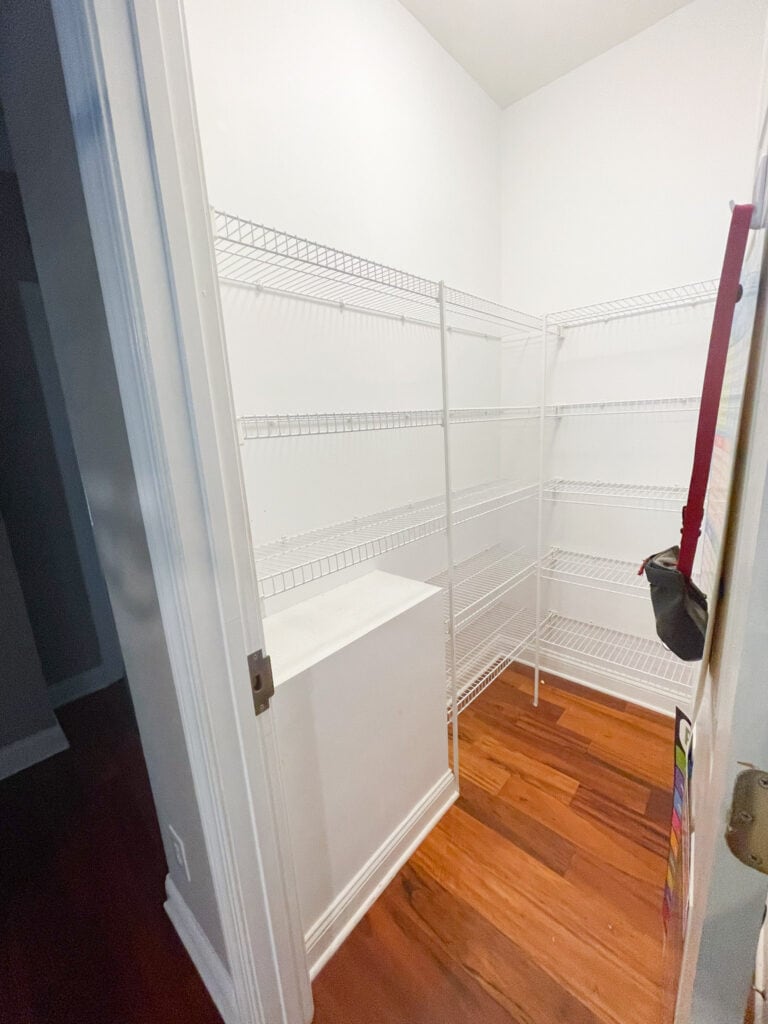
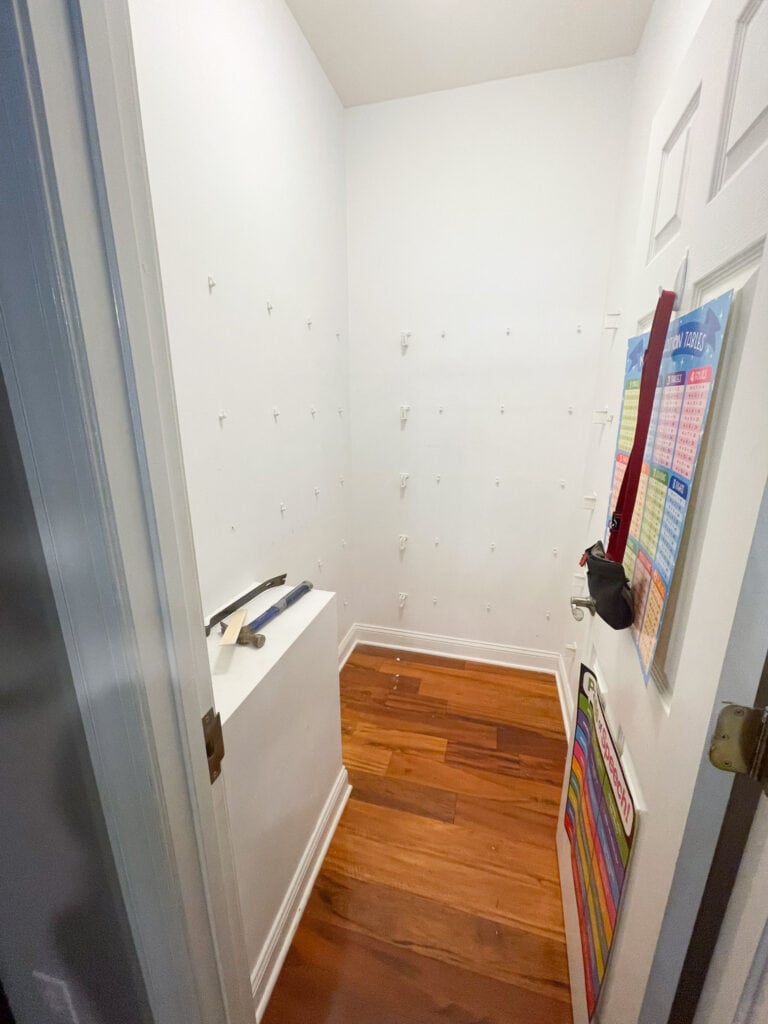
And now, it feels like a whole new space whenever I open the door! I contemplated sleeping on the floor in there because I’m pretty sure it’s my new favorite space in the house. I’m wondering it I should get one of those cute, half foggy glass doors with a “pantry” emblem on it just to bring more attention to it. Regardless, I love it.
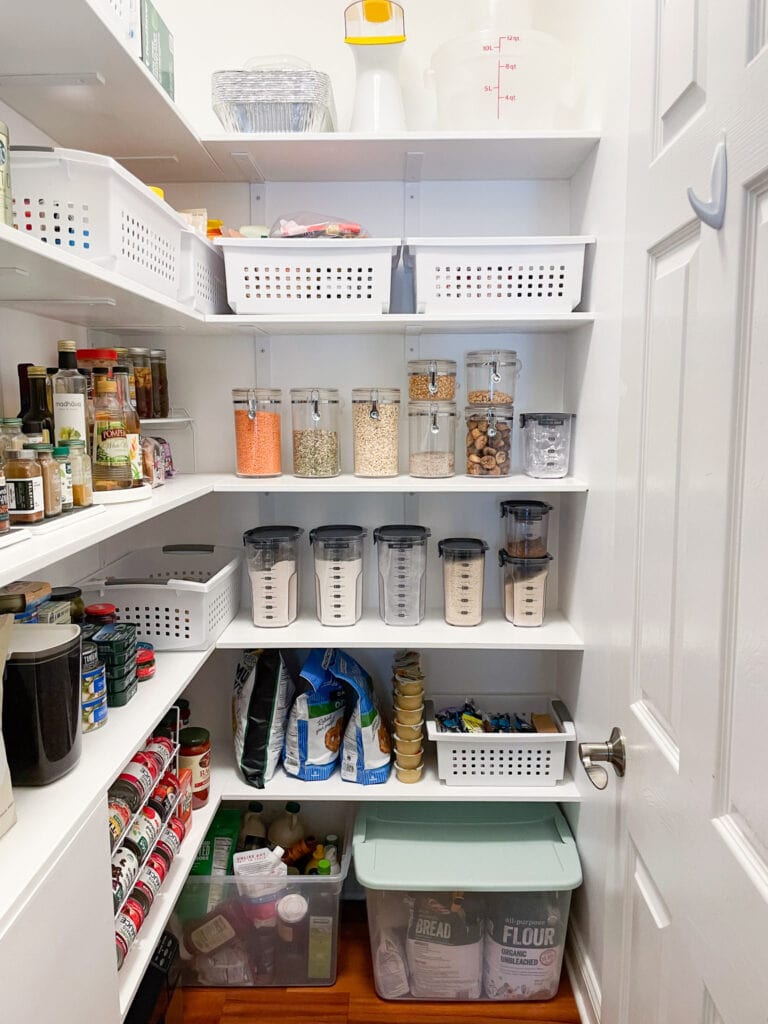
- I started with the items I use most often on the easy to reach shelves: coffee, protein powder, flour, rice, a basket for potatoes and onions, canned protein.
- Below it, I organized all my cans (using this simple can organizer), lined up my broths, marinara, pizza sauces, and salsa. I also put the snacks on this shelf for easy access: chips, pretzels, and a basket for the kids full of bars, beef sticks, and other easy grab and go snacks.
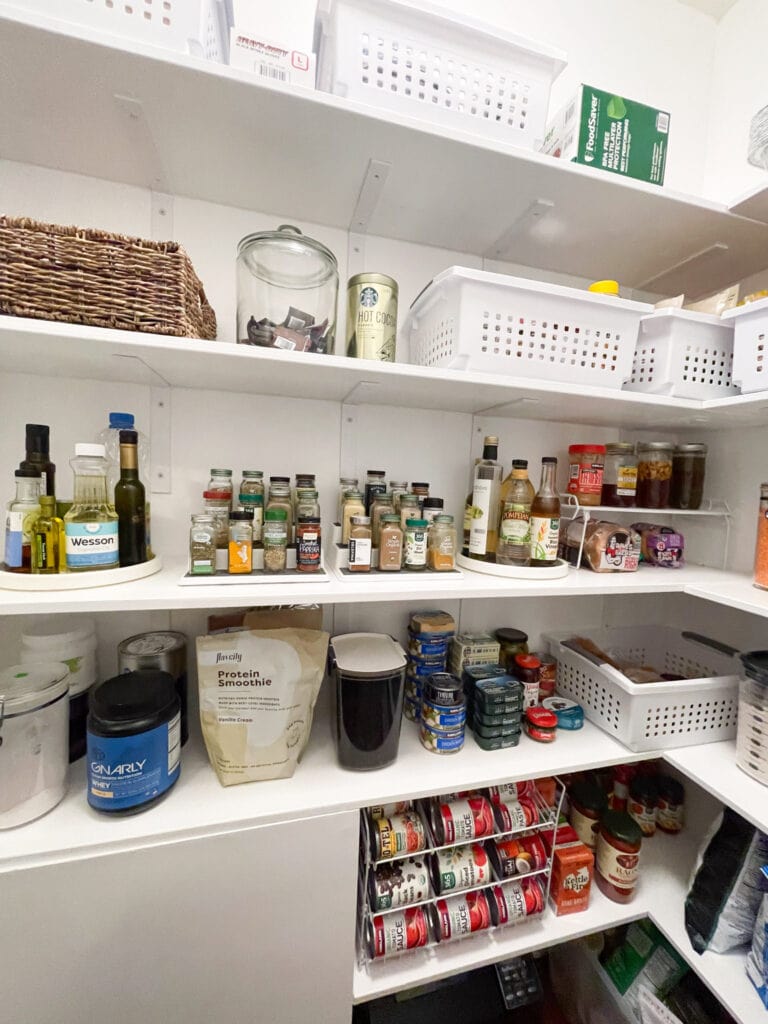
- One level above the main shelf I put other often-used items: one lazy susan for oils, one for vinegars, tiered shelves for my most used spices. Then a place for bread, peanut butter, honey, and my health potions. Plus lentils, oats, pumpkin seeds, popcorn, chia seeds, peanuts, and dried figs.
- Above that, I went with baskets. One for teas and LMNT, one for baking essentials, one for pasta and dried beans, and another for lesser used flours (rye, gluten free, corn meal, etc).
- The very top shelf, for which I need a step stool, I put paper plates and plastic utensils, oversized food storage, my air popper, and a few other random items like FoodSaver bags.
- The lowest level might not look pretty but it works really well for me. Since I buy our rice, flour, sugar, coffee, etc in bulk, one airtight container is used to keep the extra bulk items so I can refill as necessary. The other open container contains refills- think extra ketchups, often used spices, salt, syrup, oils, etc that I buy when they are on sale. It looks messy but I stay pretty well versed with what I have in there and restock when I pull something out (example: replace the fridge ketchup and buy a new one for the back up bin).
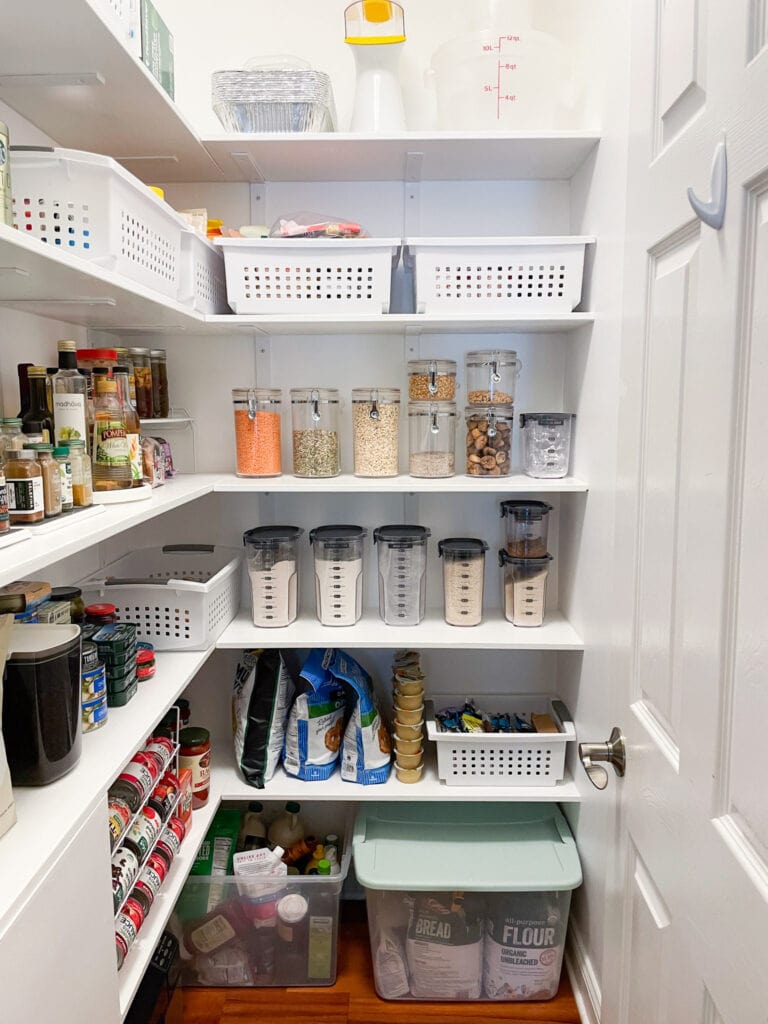
And that’s it! Revolutionary? Nah. But fresh, organized, and bringing me massive amounts of happiness? Oh my goodness, yes! Thanks for coming to my tour 🙂