
Epoxy resin is a hard, plastic-like substance (polymer or prepolymer) that contains epoxide. Typically, the resin is mixed with a hardener or curative which creates a chemical reaction and causes the mixture to cure or harden.
Epoxy resin can be bought in all sorts of different crafting kits, as well as used in larger home projects or even industrial projects. But for this post, I’m mainly focused on resin art or craft projects that can be made from epoxy resin.
Resin art is any art or craft project made with epoxy that is colored or has objects added to it (encased in it) and serves an aesthetic purpose which could range from a coffee table to earrings.
We’ve shared LOTS of epoxy resin projects on this blog over the years, so I wanted to put together a beginner’s guide with all the information someone might want to get started.
Related: Looking for more DIY projects? Check our full crafts archive for years and years of great craft projects.
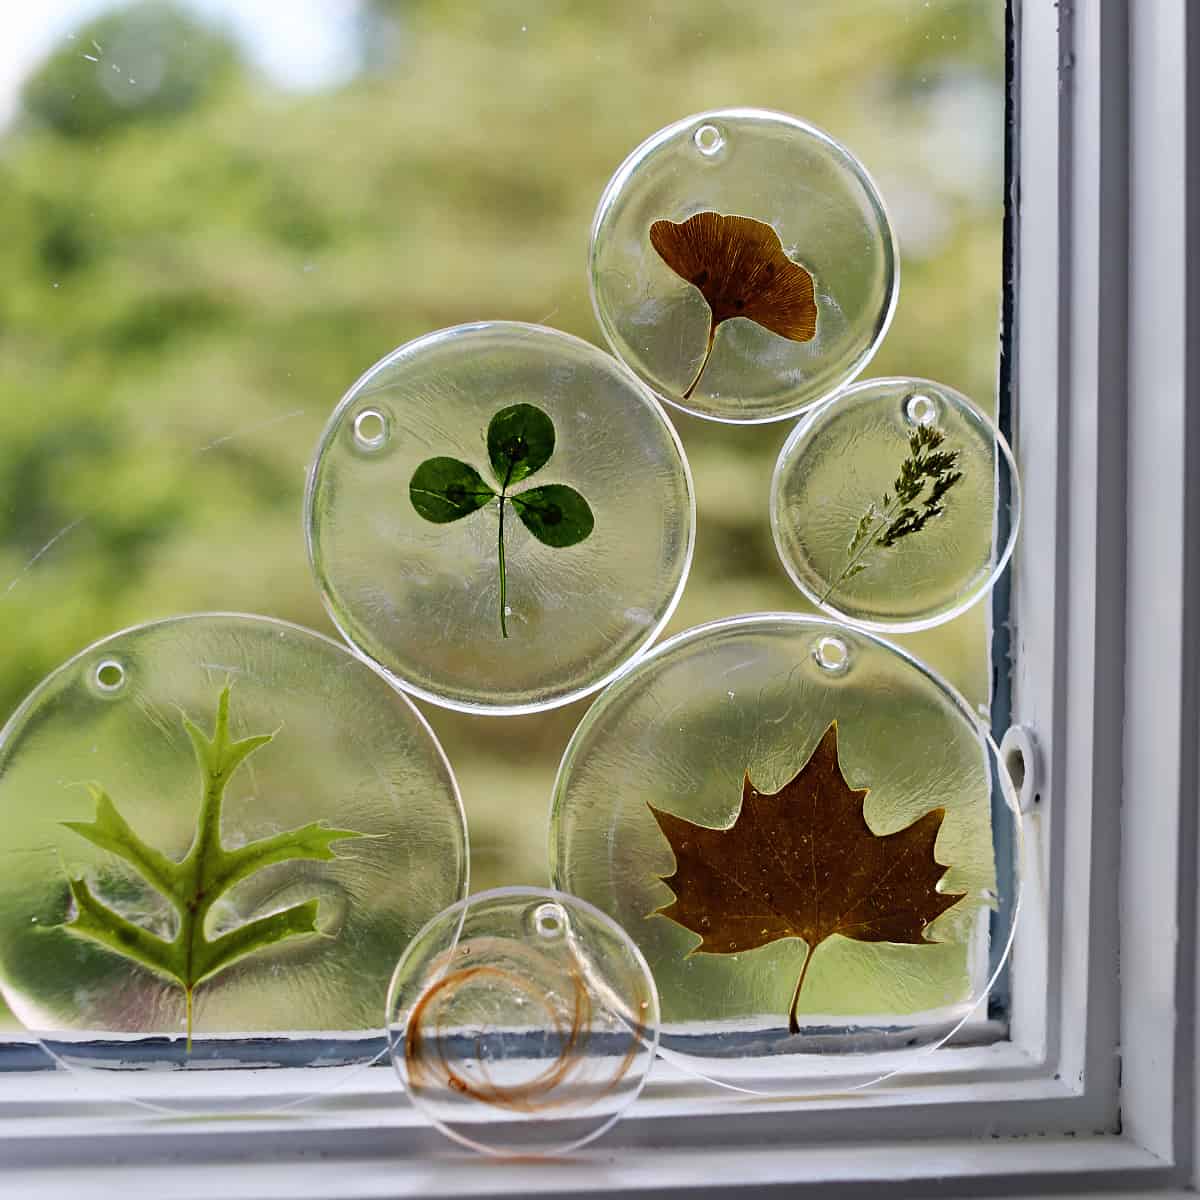
Here is a video on how to use epoxy resin:
Supplies
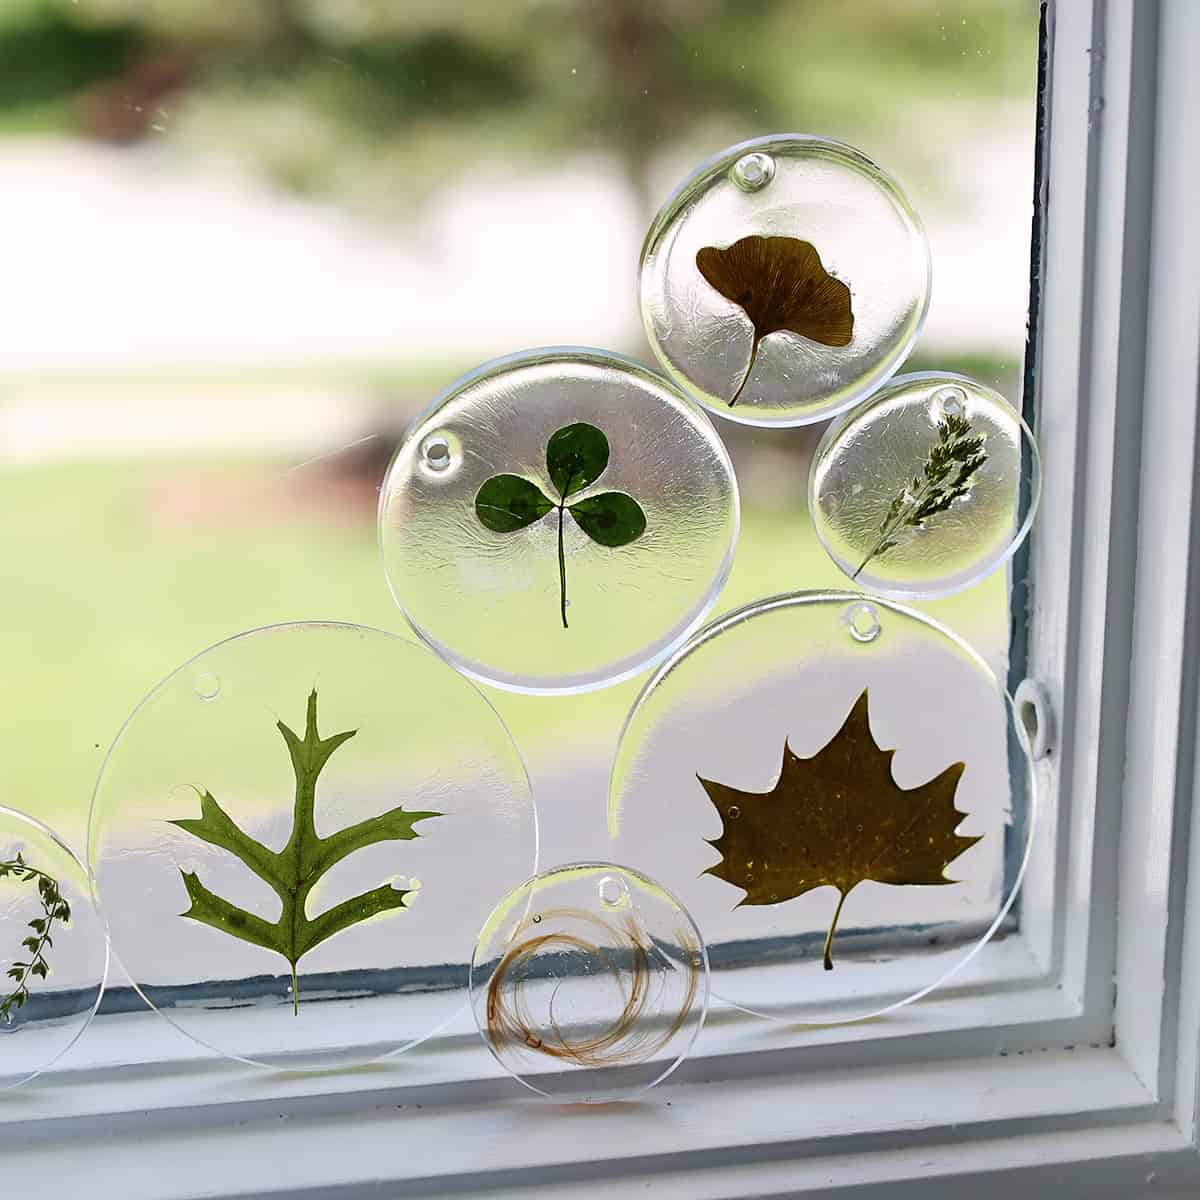
I also used some hair from my son’s first haircut for this project. I wanted to save some of his first locks in a Christmas ornament as a keepsake.
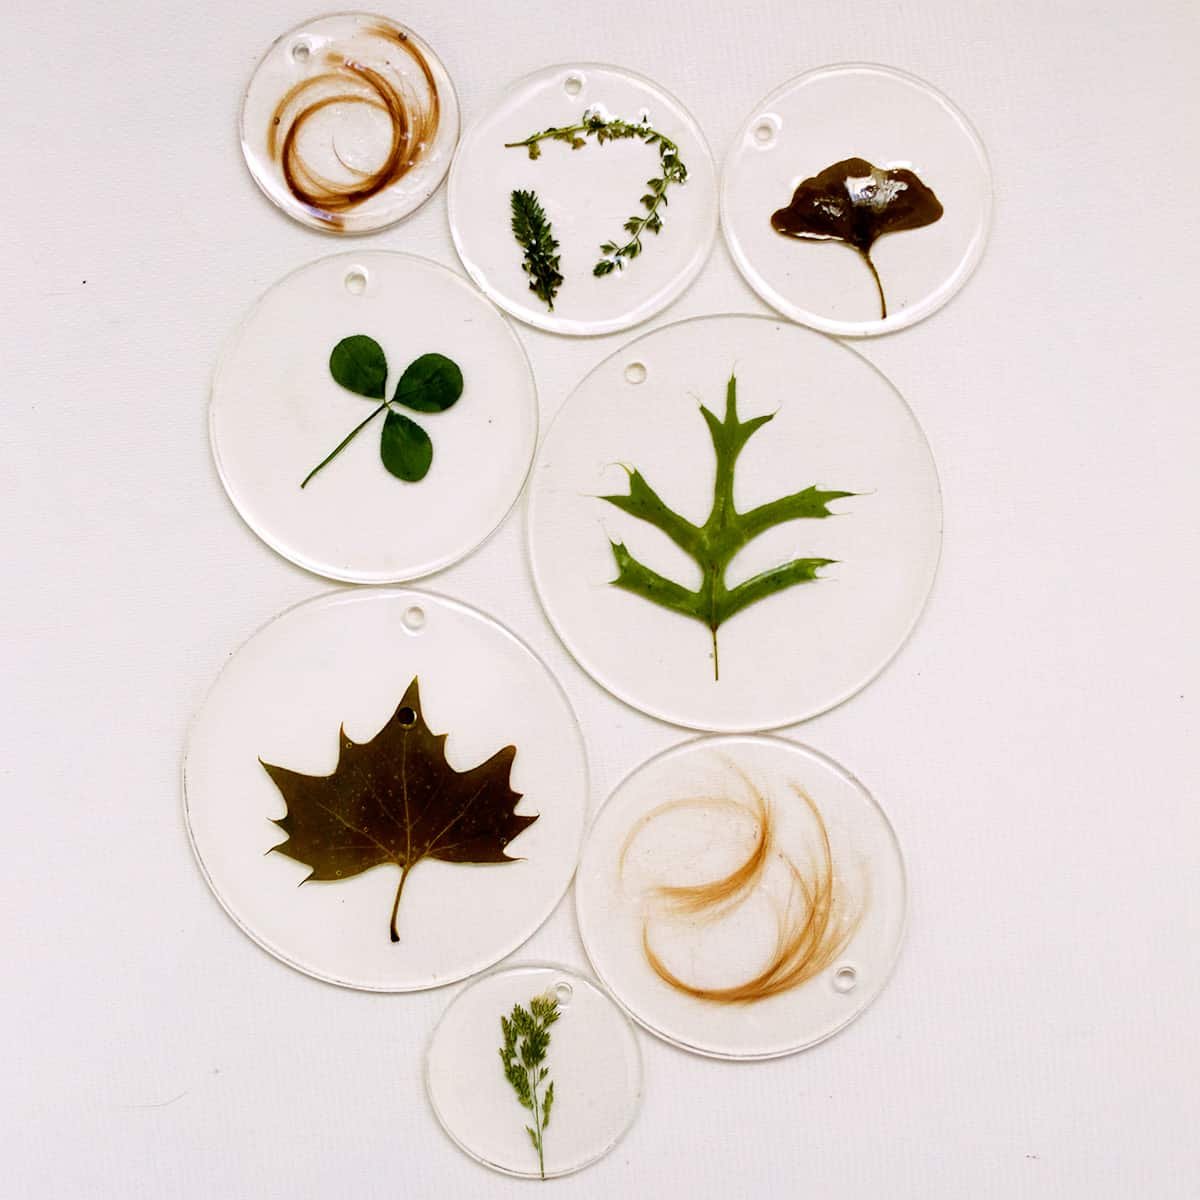
Best Epoxy Resin Products for Crafting
- Jewelry/Small Project Kit – we’ve bought this so many times over the years! It’s easy to use and comes with all the basics you’ll need other than molds.
- Larger Project Kit – for those who want to make lots of small projects or something larger like a coffee table or desk surface.
- Coaster molds – this set also comes with a coaster storage box mold.
- Jewelry molds – for jewelry molds, I prefer ones that include a hole for adding a jump ring or other jewelry finishing.
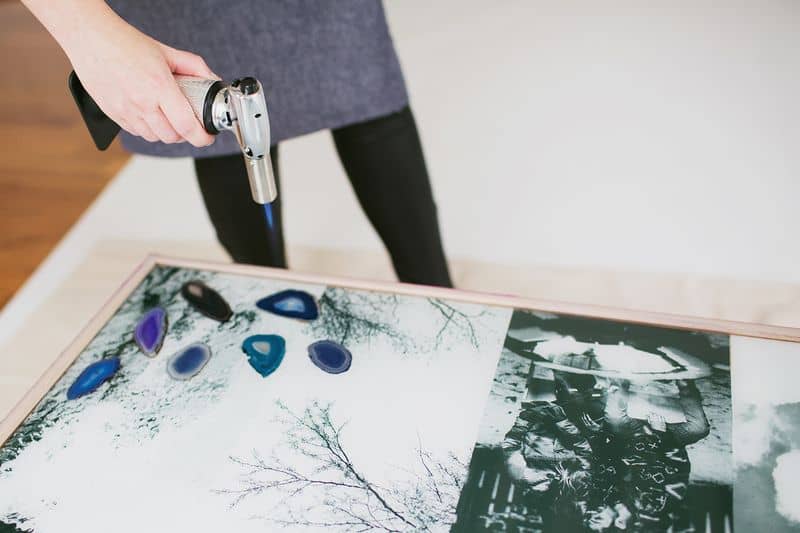
- Kitchen torch – great for getting bubbles out, especially for larger pieces. Also you can use this for creme brûlée.
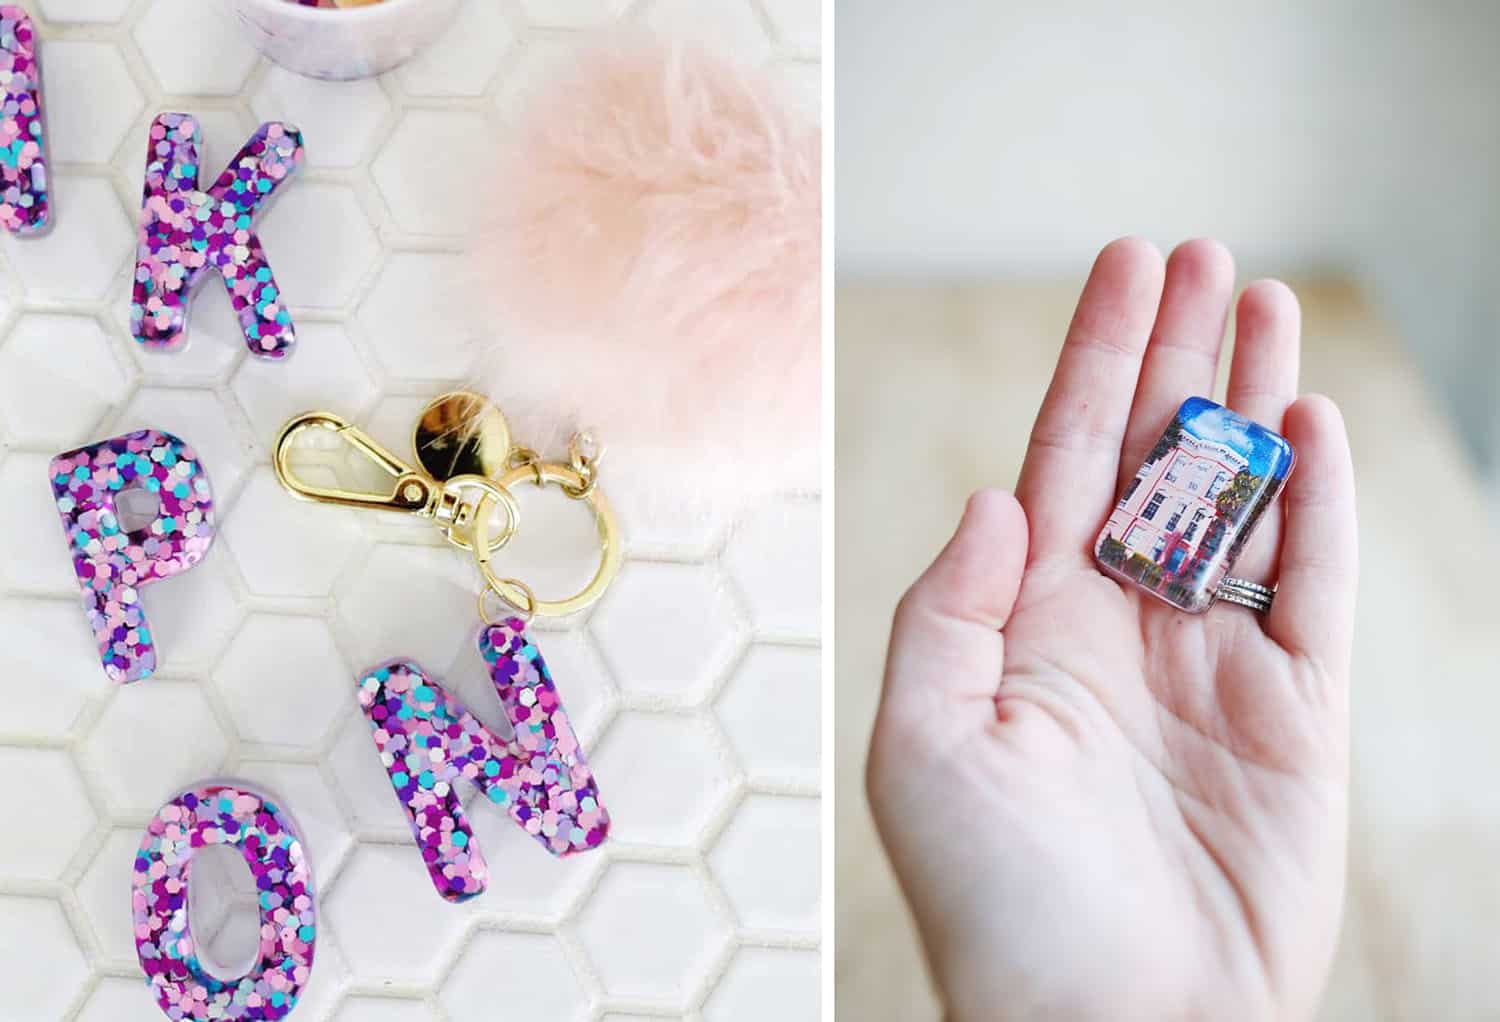
How to Use Epoxy Resin
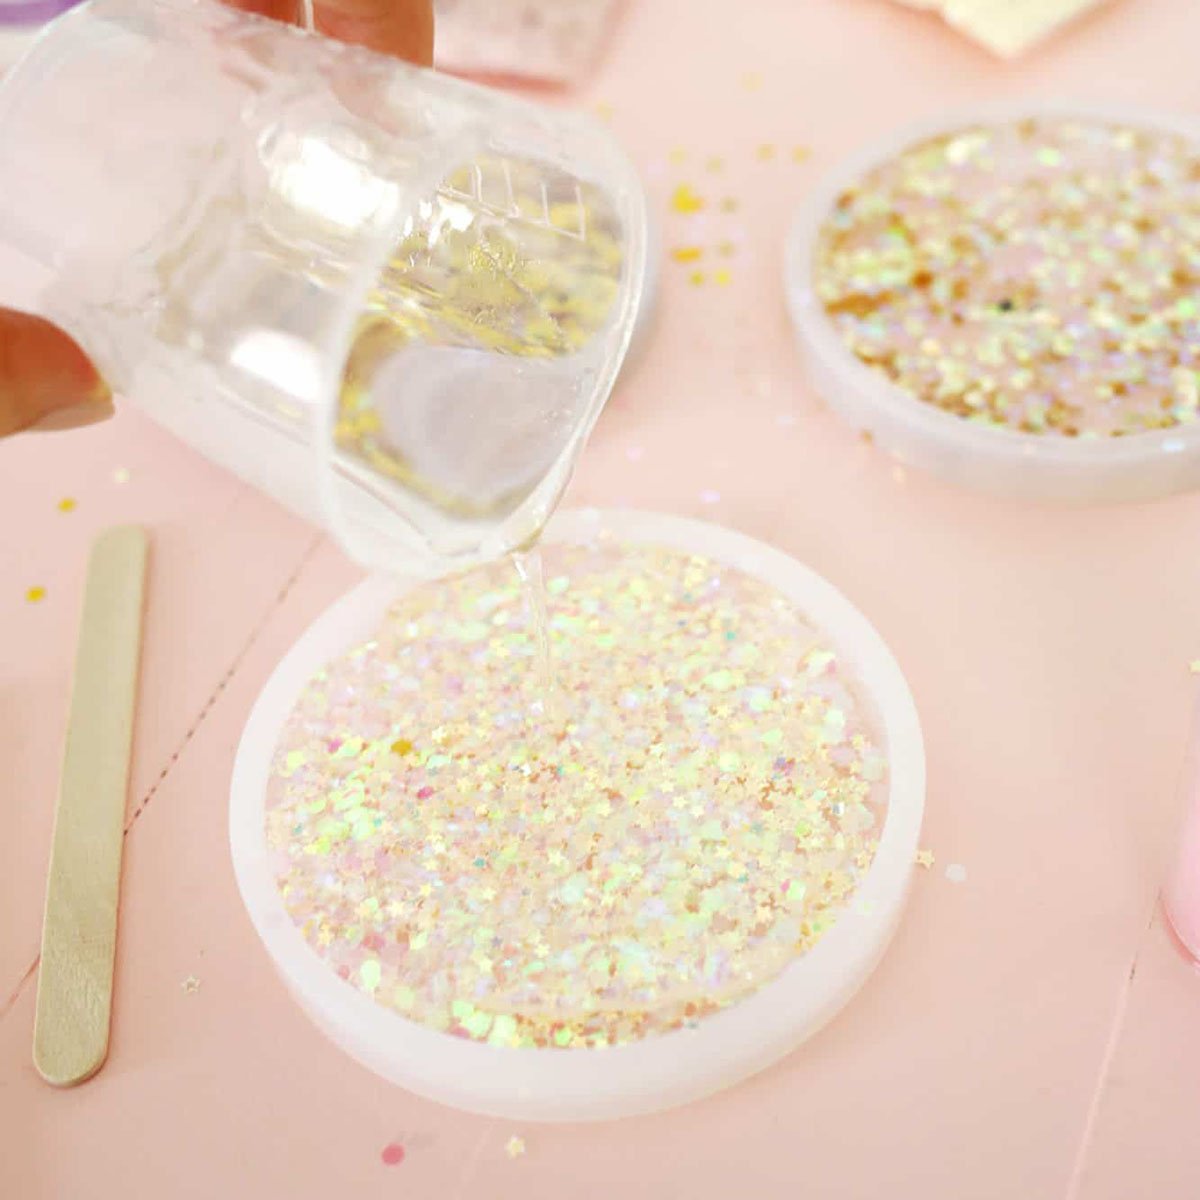
- Prepare your work area and molds. You want to make sure the molds are clean and you have protected any work surfaces in case of supplies.
- Mix together the epoxy resin and hardener. Most kits will have you measure 1:1, but check the directions on your resin products to make sure.
- Add the elements and fill the molds with the resin mixture.
- Use toothpicks to arrange or push elements into the resin more. You can sometimes also pop any bubbles that form in your resin with the toothpicks.
- Allow the project to fully cure; usually this takes 10-24 hours depending on your resin product, so check the instructions.
- Remove your objects from their molds. You can further decorate, like adding ribbon to the ornaments, etc.
Epoxy Resin Projects
- DIY Epoxy Resin Coffee Table – I sealed photos and agate slices, but you could do pennies if you want that classic look
- Glitter Coasters
- DIY Faux Terrazzo Countertops – a larger scale project with an epoxy resin seal
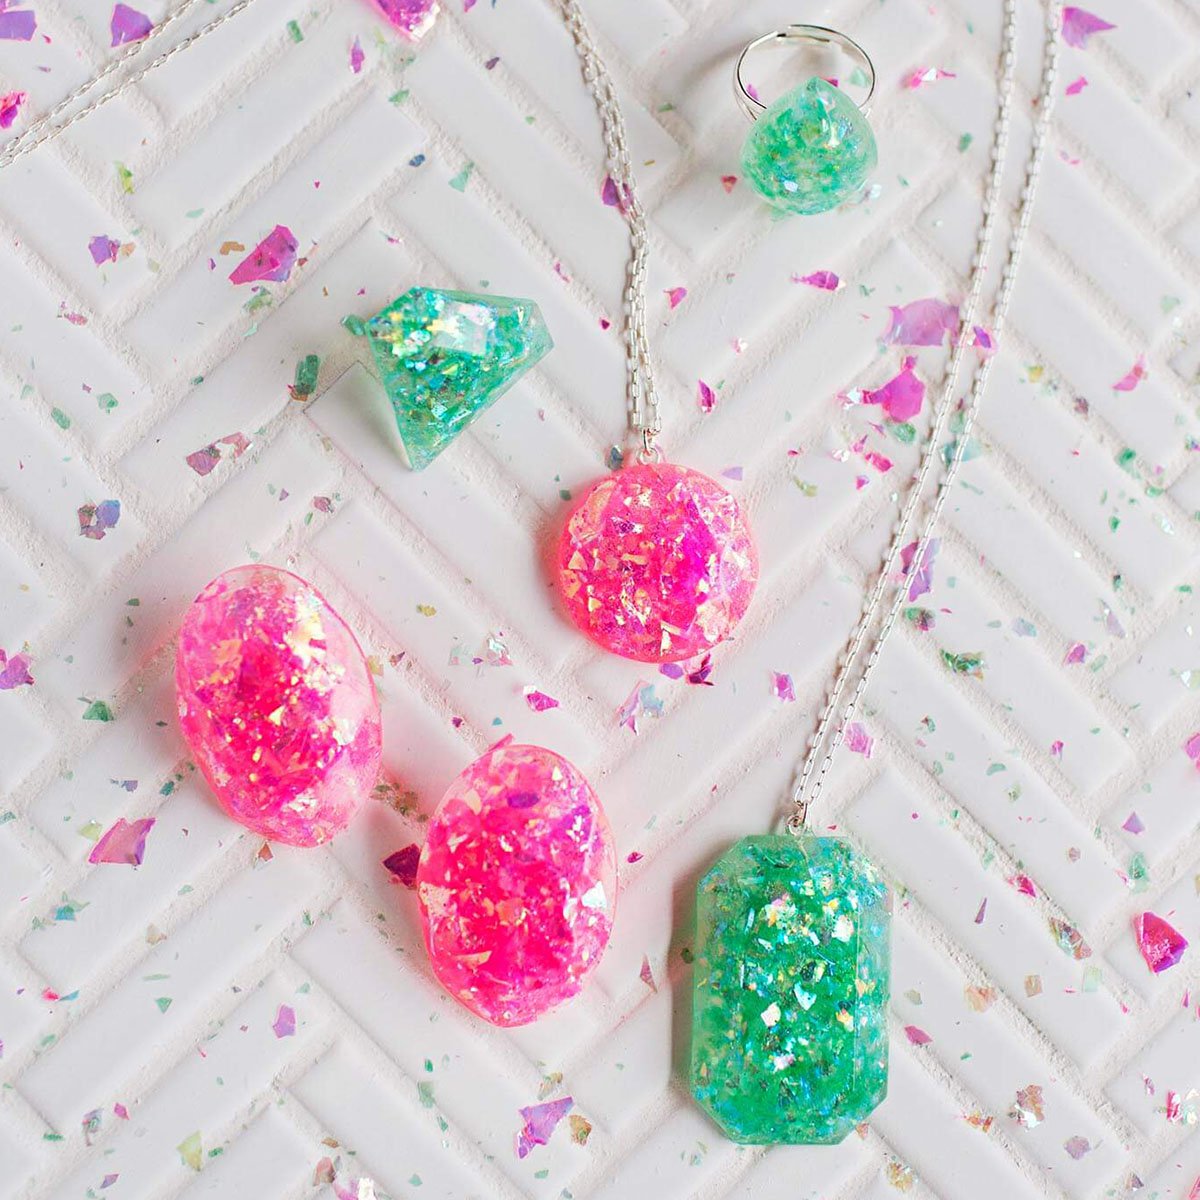
- DIY Epoxy Resin Jewelry – with glitter and sprinkles
- Colorful Epoxy-Topped Desk
- Epoxy Jewelry Box – a fun gift idea
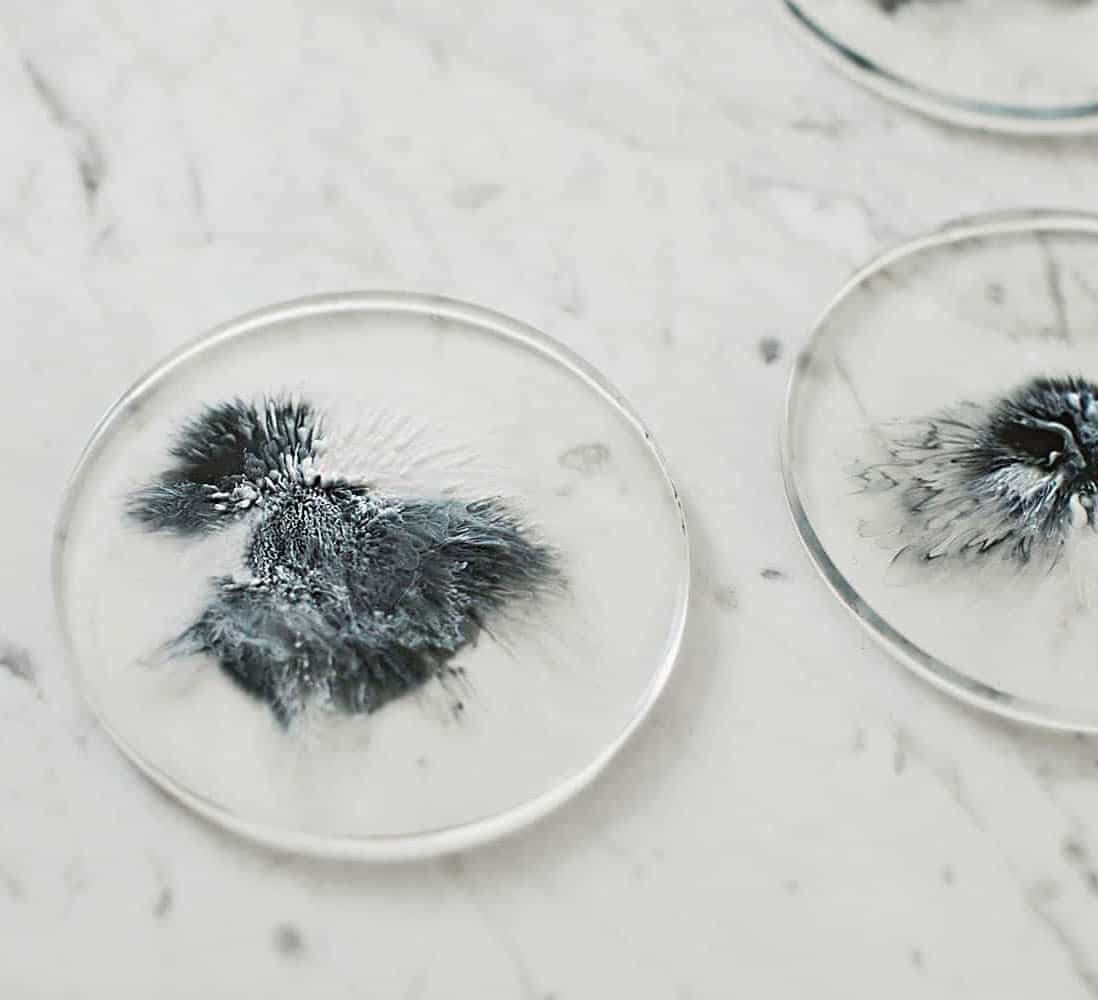
- Alcohol Ink Resin Coasters – so fun and colorful!
- Daisy DIY Earrings
- Glitter Letter Keychain
- Epoxy Statement Necklace – with photos
What are the Different Types of Resin?
- Epoxy – The best object for craft and smaller home projects, especially for beginners. It has a low odor. Once mixed, you’ll have a short amount of time to cast your pieces (usually 20 minutes or less) and the epoxy usually cures within 24 hours.
- Polyester – Higher odor but cures very hard. A good option if you want something that cures hard enough that you can sand it.
- Polyurethane – More sensitive but cures very quickly. If you want a resin that cures (hardens) fast, this is the best option.
Tips for Success
- Prepare work pieces – have everything ready to go before you mix your resin.
- Prepare work space – cover surfaces with scrap paper or a drop cloth and make sure your molds or other supplies are dust and debris free; otherwise, the dust may get stuck in your resin forever.
- Wear gloves and consider protective eyewear, especially if you’re working with larger pieces. You may also want to work in a well ventilated area or outdoors, but have a way to cover or protect your project as it cures from weather.
- A heat gun or kitchen torch is the best way to remove bubbles from larger surfaces. If your project is smaller, like jewelry pieces, you can use a toothpick to remove bubbles.
Frequently Asked Questions
Is resin art expensive?
Not really. Resin art can be relatively inexpensive, especially if you are working on smaller projects like coasters or jewelry. Larger projects that require more epoxy resin and other supplies may become more expensive.
Is resin art difficult?
No, anyone can have success with resin art projects. If you are working on a resin art project with children though, take care they are fully supervised as there are chemicals involved.
Can you paint on epoxy resin?
Yes. Most epoxy resin can be painted after it cures, although there are different kinds, so check your product description. You can also tint the resin with paint.
What questions do you have about resin art? What projects are you going to try?
Love this post? Sign up for our newsletter for more ideas!

Get creative ideas for recipes, crafts, decor, and more in your inbox!
Print
Get the How-To
how to create ornaments or coasters with epoxy resin
Instructions
-
Prepare your work area and molds. You want to make sure the molds are clean and you have protected any work surfaces in case of supplies.
-
Mix together the epoxy resin and hardener. Most kits will have you measure 1:1, but check the directions on your resin products to make sure.
-
Add the elements and fill the molds with the resin mixture.
-
Use toothpicks to arrange or push elements into the resin more. You can sometimes also pop any bubbles that form in your resin with the toothpicks.
-
Allow the project to fully cure; usually this takes 10-24 hours depending on your resin product, so check the instructions.
-
Remove your objects from their molds. You can further decorate, like adding ribbon to the ornaments, etc.
Notes
- I also used some hair from my son’s first haircut for this project. I wanted to save some of his first locks in a Christmas ornament as a keepsake.

